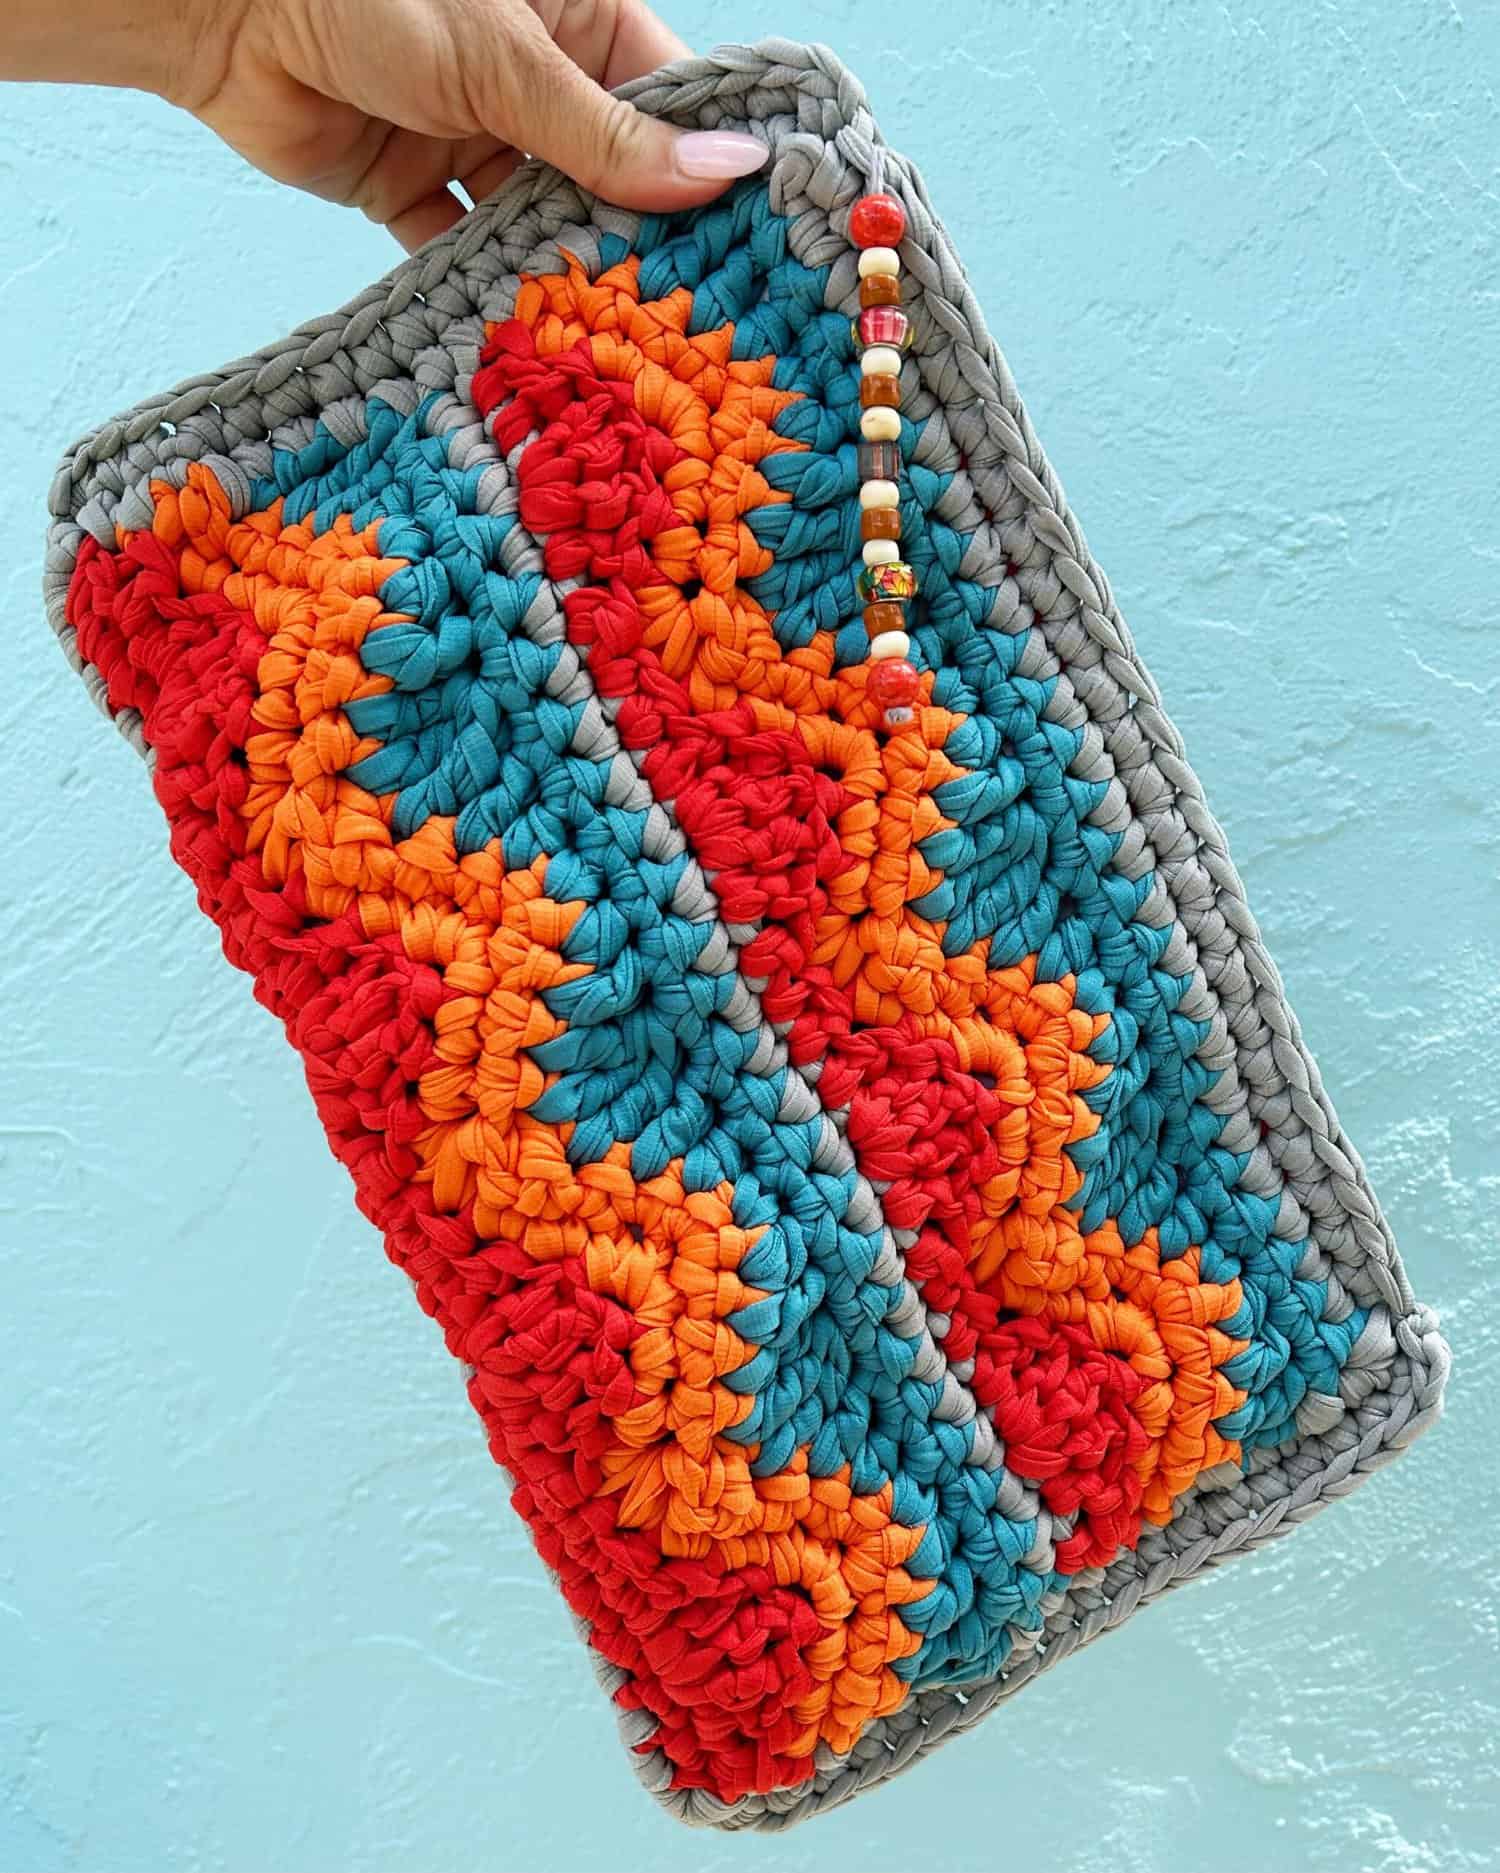
Crochet Zipper Pouch

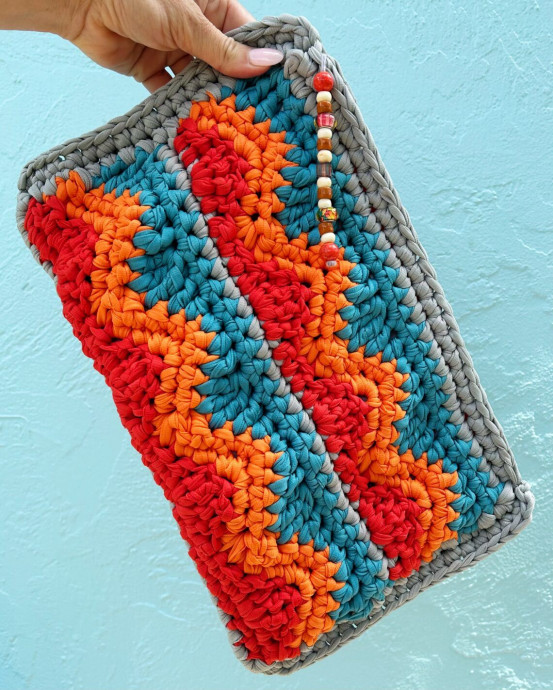
Crochet zipper pouches are not only practical but also wonderfully charming! These versatile accessories can hold your keys, coins, or even your favorite lip balm in style. Crafting a crochet zipper pouch allows you to unleash your creativity and customize it with different colors and stitch patterns to match your personality. Plus, they make thoughtful handmade gifts for your friends and family. Whether you're a crochet enthusiast looking for a new project or a beginner wanting to try something fun, making a crochet zipper pouch is a delightful way to add a touch of handmade flair to your daily essentials. Give it a try and enjoy the satisfaction of creating something both beautiful and useful!
Materials
- T-shirt yarn or a super bulky weight yarn
- Clover 9.00 mm Amour Crochet Hook
- Scissors
- Yarn needle
- 24” zipper
- Fabric for lining
- Needle and thread
Abbreviations
- Ch – chain
- Sc – single crochet
- Hdc – half double crochet
- Dc – double crochet
- Tr – triple crochet
- St – stitch
- Sk – skip
- Sc2tog – single crochet 2 together
- Sc3tog – single crochet 3 together
- Tr2tog – triple crochet 2 together
- Tr3tog – triple crochet 3 together
Instructions
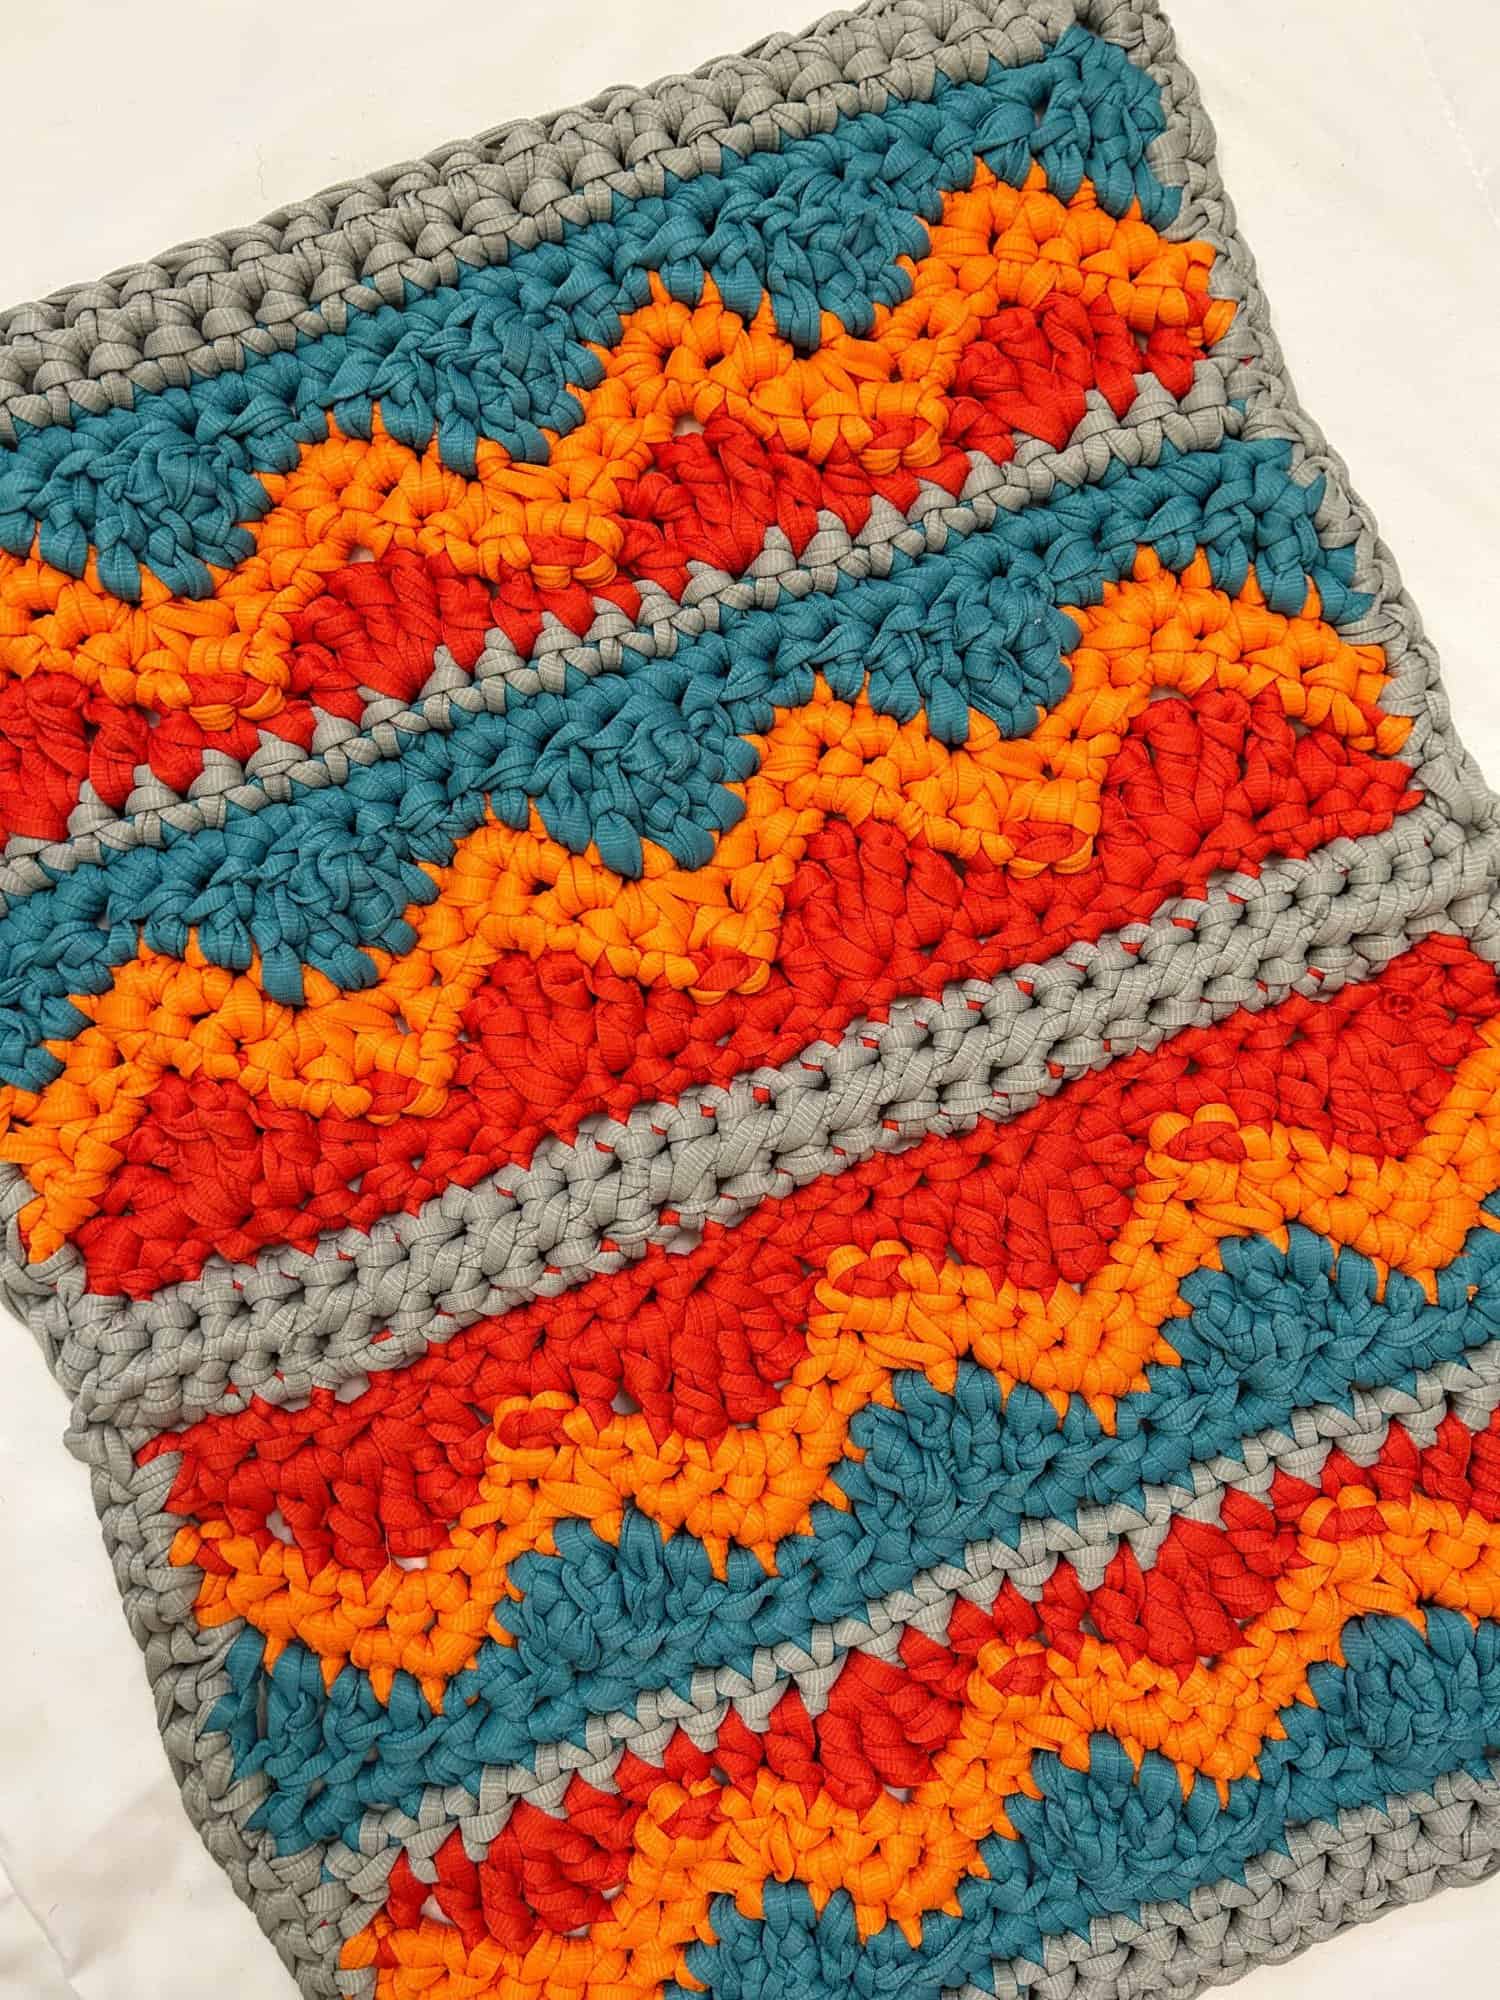
Make Two Panels
With red, ch 26
Row 1: 1 sc in the 2nd ch from the hook and in each ch across. Turn. (24 sc)
Row 2: Ch 1 (count as 1 sc), sk 1 st, *1 hdc in the next st, 1 dc in the next st, 3 tr into the next st, 1 dc in the next st, 1 hdc in the next st, 1 sc into the next st; repeat from * to the end. Change to color orange. Turn.
Row 3: Ch 1, sk 1 st, 1 sc into the next st (count as sc2tog), 1 sc into each of the next 2 sts, *3 sc into the next st, 1 sc into each of the next 2 sts, over the next 3 sts work sc3tog, 1 sc into each of the next 2 sts; repeat from * to the last 5 sts, 3 sc into the next st, 1 sc into each of the next 2 sts, over the last 2 sts work sc2tog, sk the turning ch. Turn.
Row 4: Repeat Row 3. Change to color blue.
Row 5: Ch 4, sk 1 st, 1 tr into the next st (count as tr2tog), *1 dc into the next st, 1 hdc into the next st, 1 sc into the next st, 1 hdc into the next st, 1 dc into the next st, over the next 3 sts work tr3tog; rep from * ending last repeat at **, over the last 2 sts work tr2tog, sk turning ch. Turn.
Row 6: Ch 1 (count as 1 sc), sk 1 st, 1 sc into the next st and each st to the end. Change to color gray.
Row 7: Repeat Row 6. Change color to red.
Rows 8-13: Repeat Rows 2 through 7.
Finish this part off. Weave in ends.
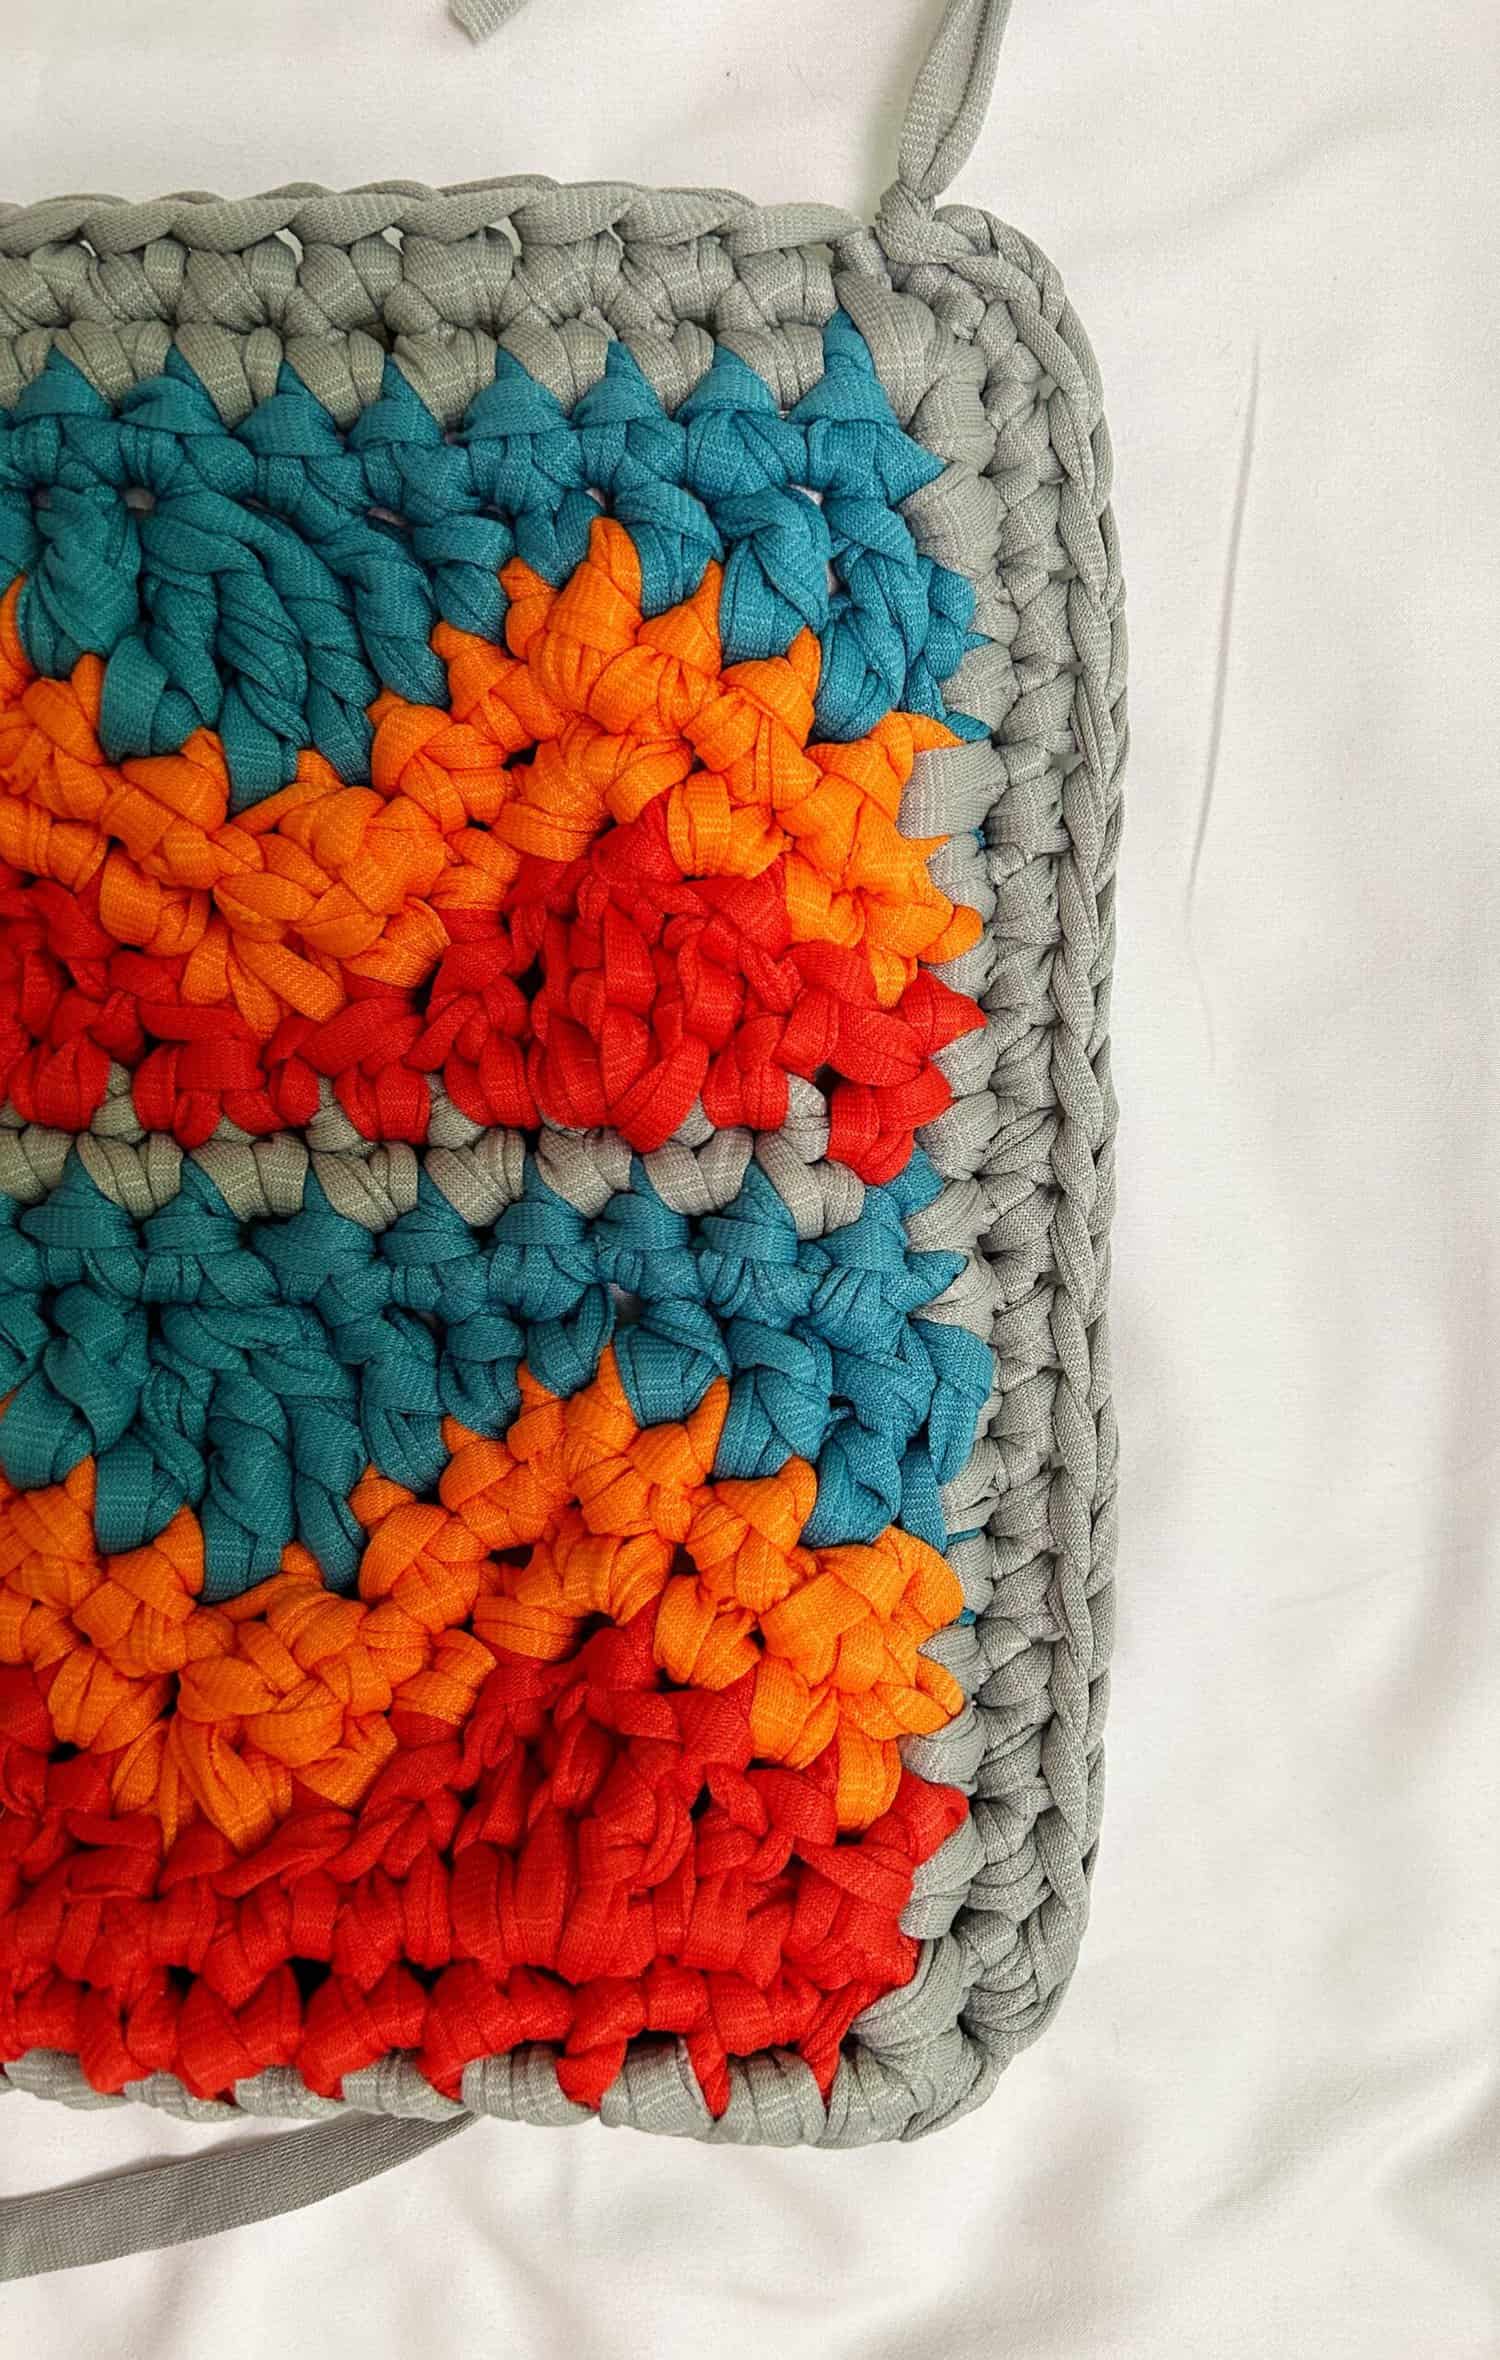
Border and Assembly
Choose your border color (I chose gray).
Attach your yarn in any corner st and ch 1 (does not count as a sc).
Round 1: *3 sc in the corner st, 1 sc in each st across to the next corner.* Repeat all the way around, ending with a sl st to the first sc.
*Please note: when working along the sides of the pieces, just sc as evenly as possible.
Finish this part off. Weave in ends.
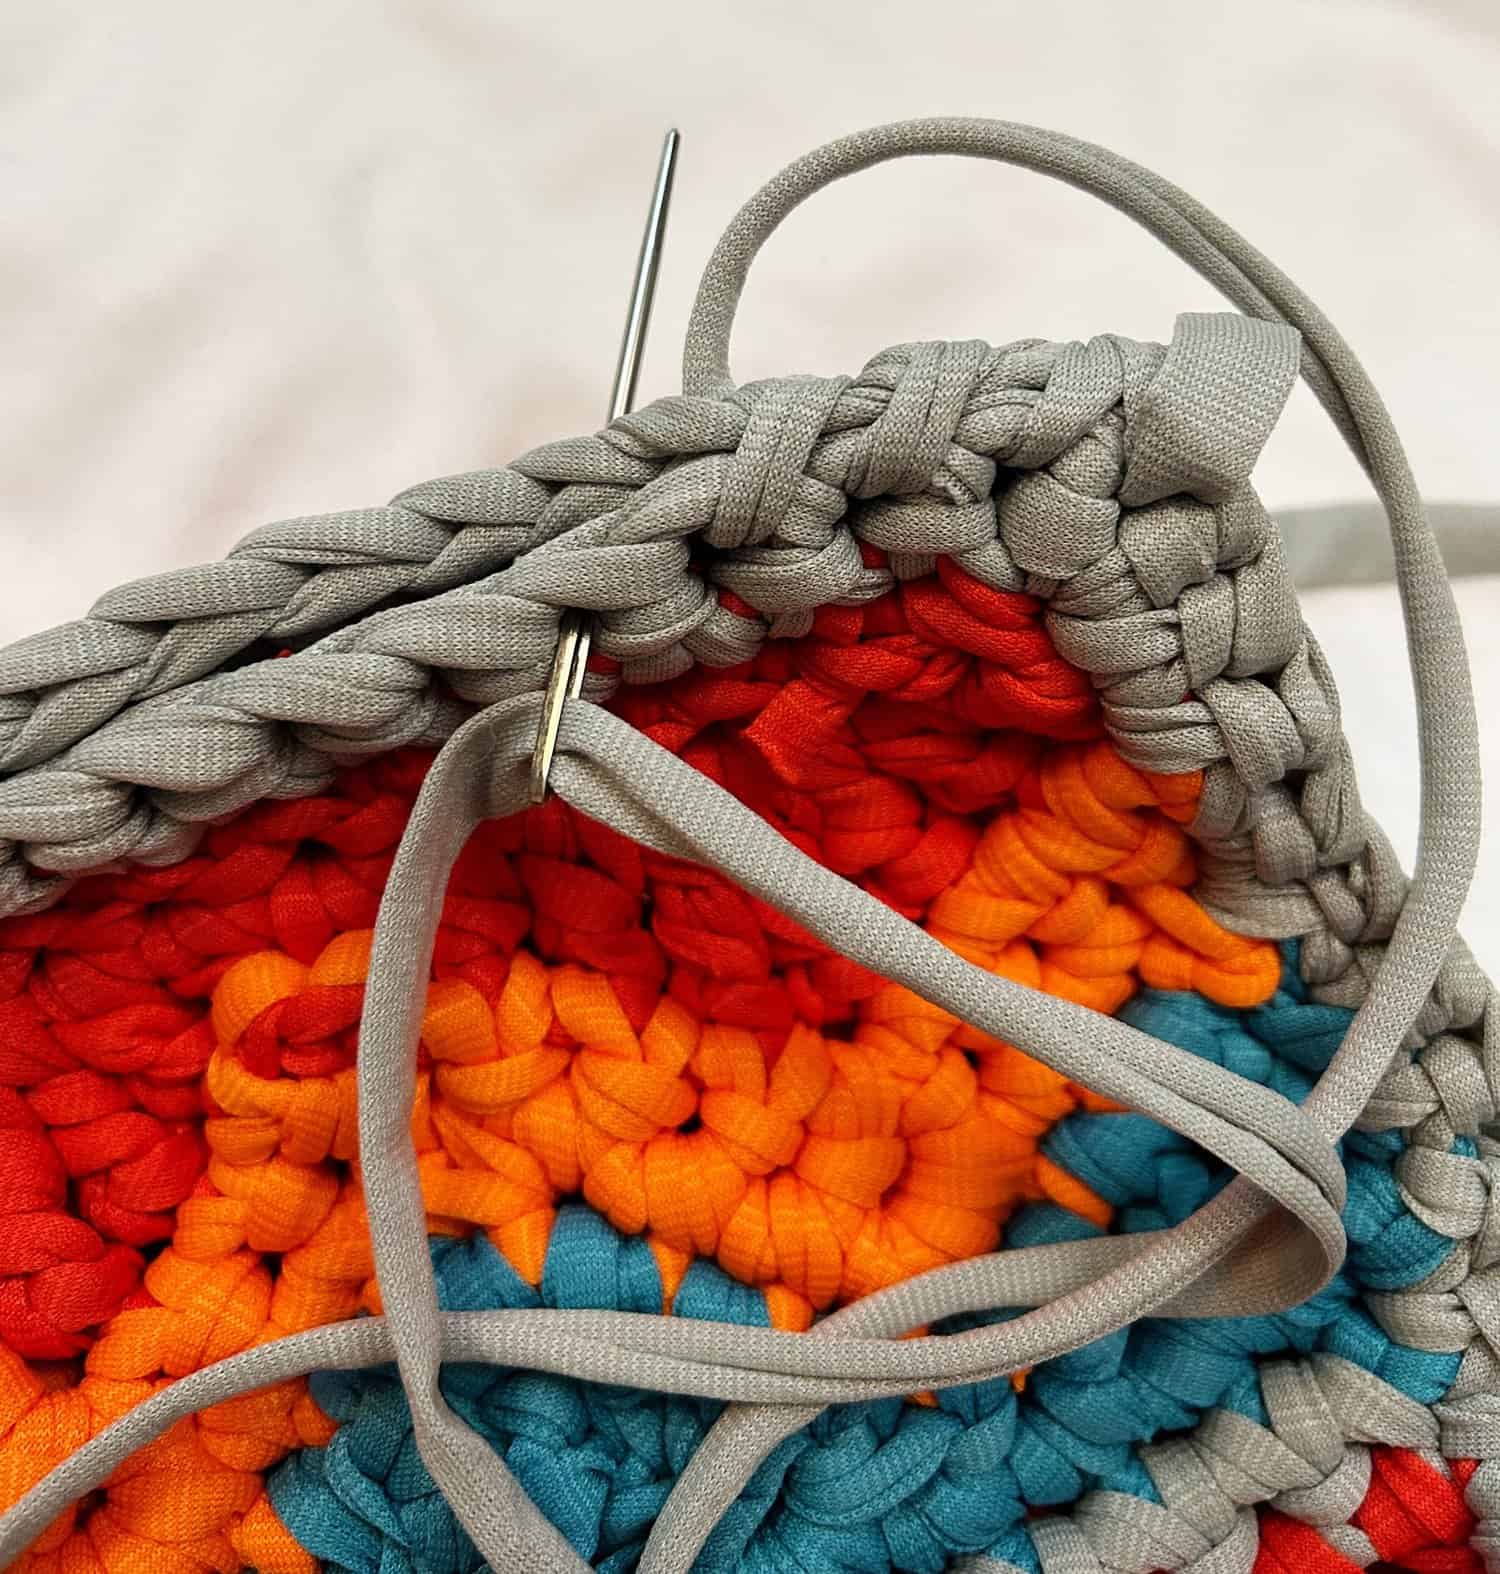
Now place the front and back of the bag on top of each other (right sides together). Whip st the pieces together along the bottom only.
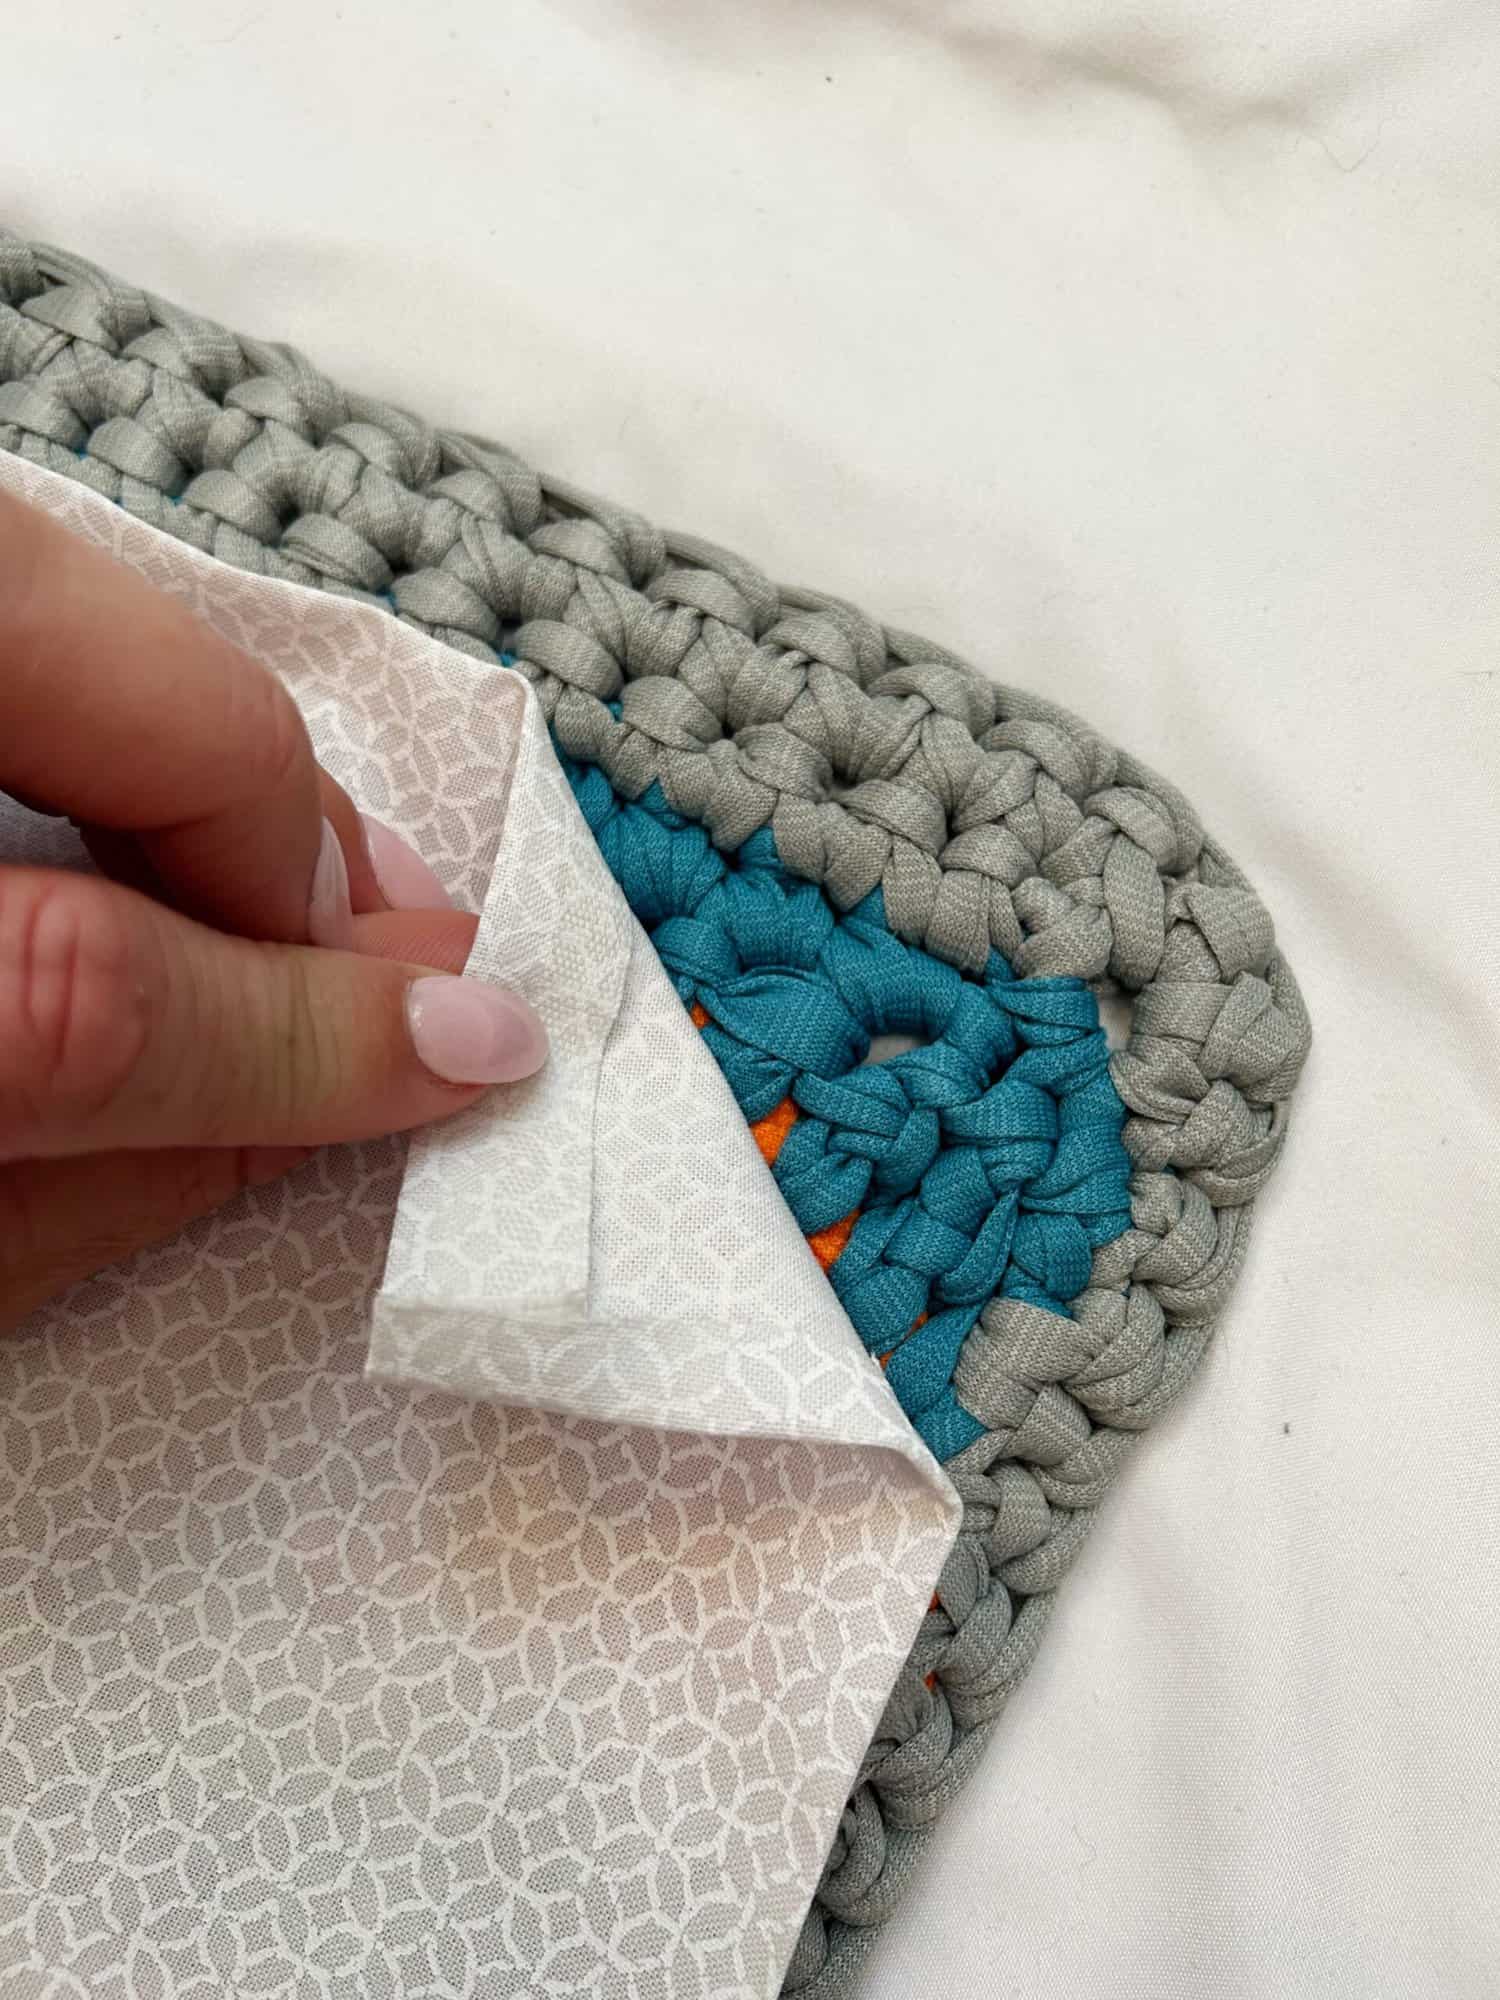
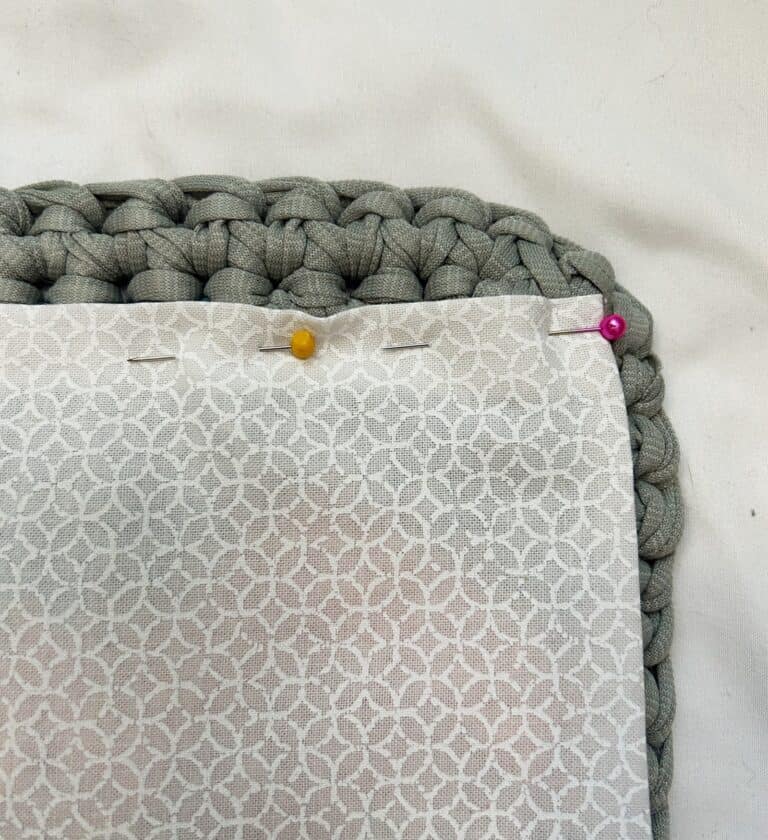
If you are planning on lining the bag, cut your fabric piece to the size of the bag. Fold and iron the edges in and set in place using pins. Grab a needle and thread and do a simple sewing stitch around the entire piece.
Now fold the piece in half and along each side of the bag, you are going to join your border color yarn and sc the two pieces together. *Make sure you do both sides.
Now take your zipper and hand sew it in place. You can also add a cute key chain or tassel to the zipper for some extra flair!