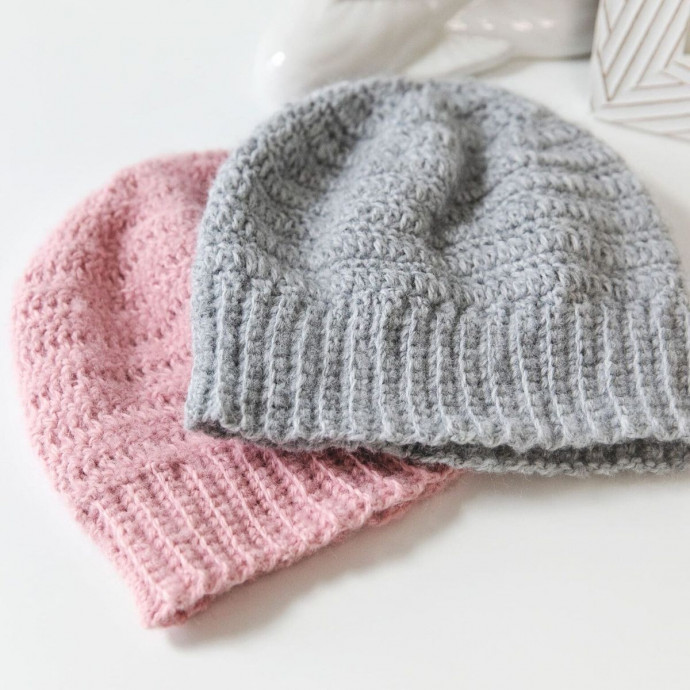
Crochet Adorable Beanie

Looking to add a touch of cozy charm to your outfit? Look no further than the delightful world of crochet adorable beanies! Whether you're a seasoned crocheter or just starting out, crocheting a beanie is a fun and rewarding project. With endless possibilities for colors, textures, and patterns, you can create a beanie that perfectly suits your style. From classic designs to whimsical embellishments, the options are as vast as your imagination. So grab your yarn and hook, and get ready to craft a beanie that will keep you looking cute and feeling warm all season long!
Materials
To make one beanie, you will need the following materials:
- 1/3 Skein (Approx. 100 yards) Hobbii Fluffy Day Worsted Weight Yarn in Pastel Pink (12).
- US G-6/4.0 mm crochet hook.
- Scissors.
- Tapestry/yarn needle (for weaving in ends).
Size
Adult: Head circumference of 21-24 inches.
Gauge
18 stitches X 6.5 Rows = 4” in double crochet.
Abbreviations
- CH: Chain.
- SC: Single Crochet.
- DC: Double Crochet.
- SS: Slip Stitch.
- Sts: Stitches.
- BLO: Back Loop Only.
Pattern Notes
This simple beanie pattern begins with crocheting the brim (worked flat in rows). The ends of the brim are then slip stitched together and the remainder of the hat is worked in the round.
When working in the round, the first CH or CH2 of each round does not count as a stitch.
Easy Crochet Beanie – Free Pattern
Brim
Chain 13.
Row 1: SC in second ch from hook and in each remaining ch; CH1, turn (12 sts total).
Rows 2 – 76: SC in BLO of each sc; CH1, turn.
Brim will measure approximately 16 inches un-stretched. Do not fasten off. Fold brim in half, lining up stitches of foundation chain row and last row to form a loop. CH1 and seam ends together by slip stitching through stitches of the foundation chain row and last row. Continue to Body of Hat.
Body of Hat
Round 1: CH1; working around the brim SC 80 stitches evenly spaced and join to first SC with SS.
Round 2: CH2; DC in each sc to end of round; join to first DC with SS.
Round 3: CH1, SC in each dc to end of round; join to first SC with SS.
Round 4: As Round 2.
Round 5: As Round 3.
Round 6: As Round 2.
Round 7: As Round 3.
Round 8: As Round 2.
Continue to Shaping Crown and Finishing.
Crown Shaping & Finishing
Round 1: CH1, *SC in first 6 sts, SC2Tog; repeat from * to end of round; join to first SC with SS (70 sts).
Round 2: CH2; *DC in first 5 sts, DC2Tog; repeat from * to end of round; join to first DC with SS (60 sts).
Round 3: CH1, *SC in first 4 sts, SC2Tog; repeat from * to end of round; join to first SC with SS (50 sts).
Round 4: CH2; *DC in first 3 sts, DC2Tog; repeat from * to end of round; join to first DC with SS (40 sts).
Round 5: CH1, *SC in first 2 sts, SC2Tog; repeat from * to end of round; join to first SC with SS (30 sts).
Round 6: CH2; *DC in first st, DC2Tog; repeat from * to end of round; join to first DC with SS (20 sts).
Round 7: CH1; *SC2Tog to end of round (10 sts); join to first SC with SS.
Cut yarn, leaving a 10” tail and fasten off. Thread yarn onto tapestry needle, and weave through the top of the remaining stitches. Pull tight (like a drawstring) – this will close the top of the hat. Making sure that the top of the hat is completely closed, secure the tail on the inside of the hat with a knot. Weave in all loose ends.
