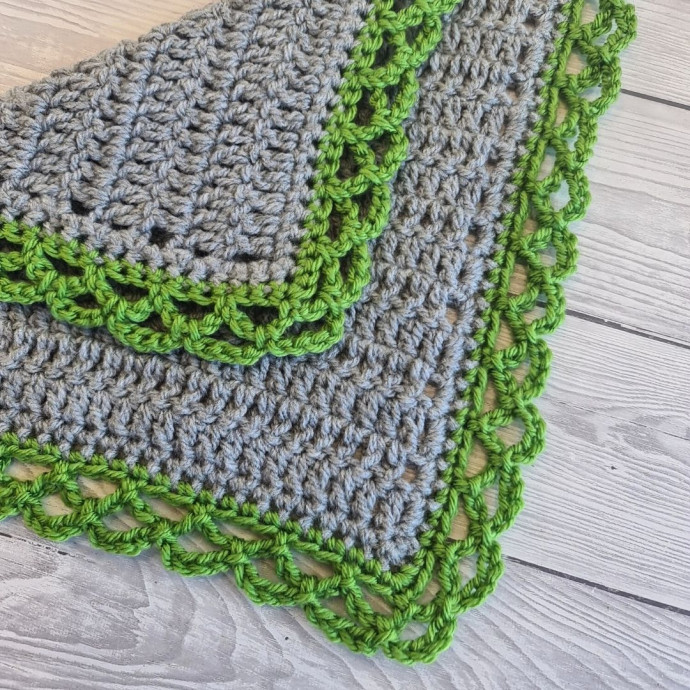
Crochet Lace Border Tutorial: Elevate Your Creations with Intricate Designs

Crochet Lace Borders
Crochet lace borders add a touch of charm and elegance to any project, whether you're working on a blanket, clothing item, or home decor piece. They create a delicate and intricate finish that can make your handmade items truly stand out. The beauty of crochet lace borders is that they are versatile - you can customize them by choosing different thread colors, adjusting the stitch pattern, or varying the width to suit your preferences. They require patience and attention to detail, but the end result is always worth the effort. So, grab your crochet hook, some lovely yarn, and let your creativity flow as you embellish your creations with beautiful crochet lace borders that will surely impress!
Supplies Used
- Marriner Yarns Aran
- 5mm crochet hook
Abbreviations
Pattern written in US terms using Craft Yarn Council abbreviations.
- st(s) – stitch(es)
- ch – chain
- sk – skip
- sl st – slip stitch
- sc – single crochet
- yo – yarn over
Special Stitches
No special stitches were used in this pattern.
Pattern Instructions
Tip: If you want a thicker border, repeat round 2 as many times as you like.
This border requires you to have even numbers of stitches, but if you don’t, I am showing you in the video tutorial how to adjust the pattern.
The section between ** is the section that needs to be repeated.
This border is crocheted in the round without turning, and each round is closed with a sl st.
Base
Start with a base row to make stitches all around your blanket. My base row is made out of single crochet stitches. Start in one corner and make 3 sc. Crochet along the edge and make 3 sc in each of the corners.
When you have reached the beginning of your round, sl st in the first sc you have made, then sl st in the next stitch to bring the yarn in the corner.
Rounds Instructions
RND 1: 
*Ch5, sk2, sl st in next*, repeat from * until you have crocheted all around the blanket (make sure your slip stitches end up in the corner stitches). Your last slip stitch should end up in the very first stitch you have started in.
RND 2: 
2 sl st into the next ch5 space, *ch5, sl st into the next ch5 space*, repeat from * until you have slip stitched into the last ch5 space, ch5, sl st in the second sl st you have made at the beginning of the round.
RND 3 (Optional): 
You can modify this border and make more or fewer chains and also skip more or fewer stitches. In this pink version I have made, I skipped 1 stitch and I chained 3.

