Crochet Standing Cat Amigurumi Pattern

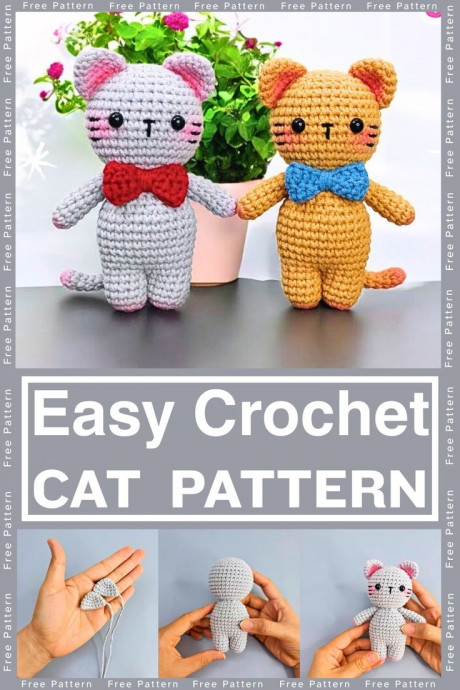
The Crochet Standing Cat
The Crochet Standing Cat is a delightful and charming amigurumi pattern that brings a touch of cuteness to any room. With its adorable design, this crochet creation is perfect for cat lovers and craft enthusiasts alike. This cute feline stands tall with its perky ears and sweet expression, making it a lovely addition to your handmade collection. Whether you're a beginner or a seasoned crocheter, crafting this standing cat will surely bring a smile to your face as you work on each stitch. So grab your yarn and hook, and let's crochet up some purr-fect fun together!
Materials and Preparation
To create this adorable crochet cat, you will need:
- Yarn: Medium-weight (Size 4) yarn in colors of choice (e.g., gray for the body, pink for the bow).
- Crochet Hook Size: 2.5 mm or size recommended based on yarn thickness.
- Safety Eyes: 8 mm.
- Stuffing: Polyester fiberfill.
- Stitch Markers: To keep track of rows.
- Scissors: For trimming yarn.
- Yarn Needle: For sewing pieces together.
Abbreviations and Notes
Abbreviations
- SC: Single Crochet
- INC: Increase (2 SC into the same stitch)
- DEC: Decrease (Single crochet 2 stitches together)
- CH: Chain
- HDC: Half Double Crochet
- DC: Double Crochet
- SL ST: Slip Stitch
Notes
This project is worked in continuous rounds to avoid seam lines; do not join rounds unless otherwise stated. Use a stitch marker for ease.
The gauge is not critical, but using the specified hook size and yarn weight will give best results.
Stuff each piece as you finish crocheting it. Detailed placement is noted for safety eyes, ears, and tail.
Gauge, Approximate Size, and Pattern Notes
Gauge: Not specified; tight stitches recommended for amigurumi.
Approximate Size: Finished cat measures 10-12 cm tall.
Special Techniques
- Magic Ring: Used to start many rounds.
- Front Loops Only: Specific rounds use front loops for shaping.
Step-by-Step Pattern
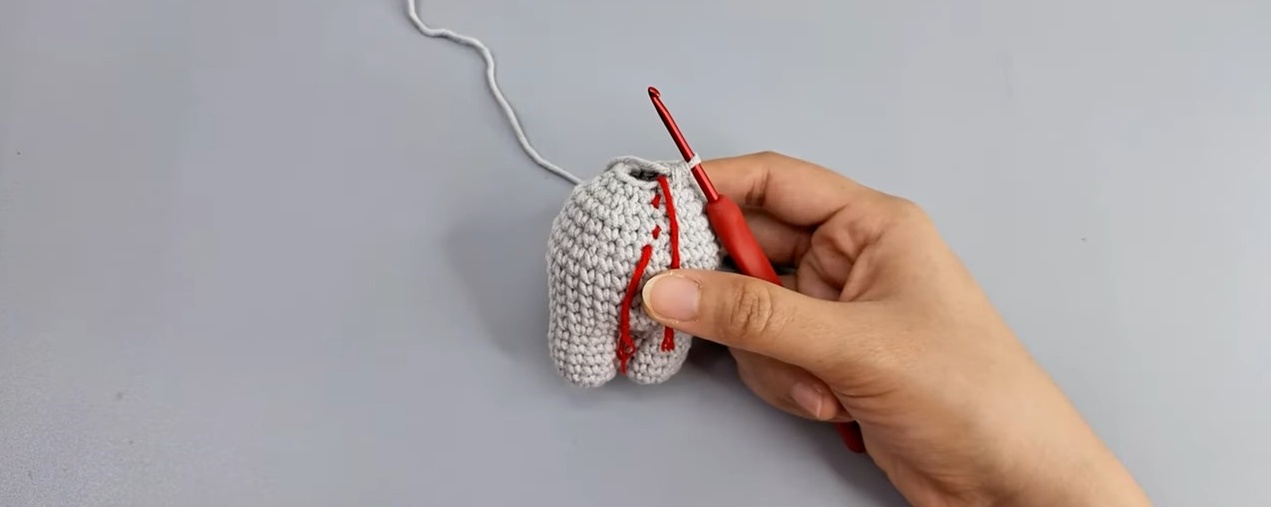
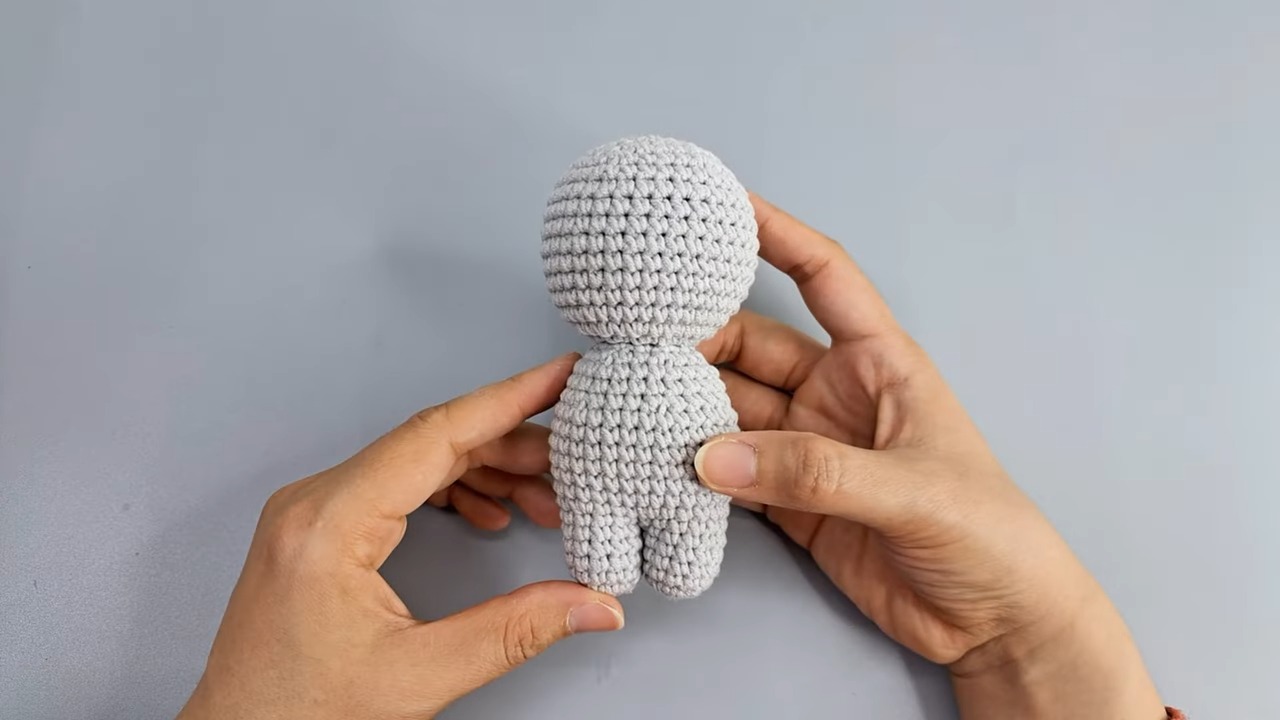
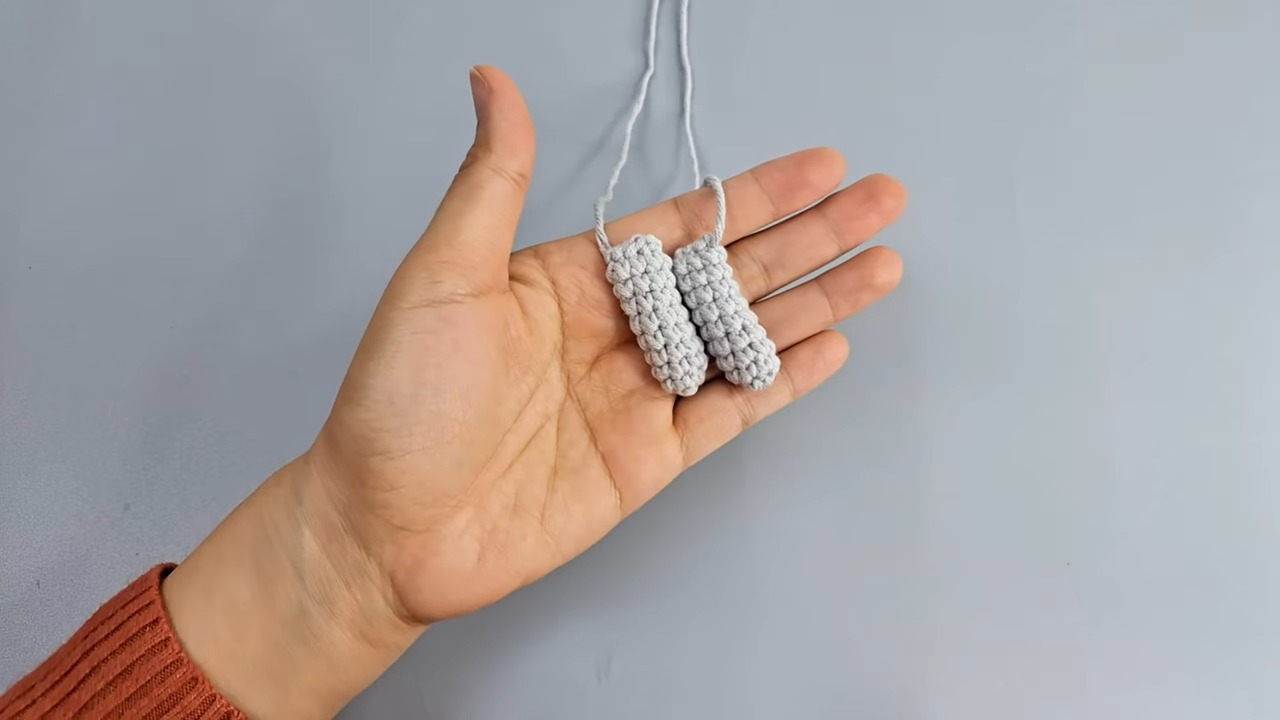
Legs
Make 2 legs:
- Round 1: 6 SC in magic ring. [6]
- Round 2: INC in each stitch. [12]
- Rounds 3–6: SC in each stitch. [12]
- Additional Step: Crochet 4 SC across after finishing both legs.
Body
- Round 7: SC across the first leg (12), then SC across the second leg (12). [24]
- Round 8: (3 SC, INC) repeat 6 times. [30]
- Rounds 9–14: SC in each stitch. [30]
- Round 15: (3 SC, DEC) repeat 6 times. [24]
- Rounds 16–17: SC in each stitch. [24]
- Round 18: (2 SC, DEC) repeat 6 times. [18]
- Round 19: (1 SC, DEC) repeat 6 times. [12]
Front Loops Only from here on:
- Round 20: INC in each stitch. [24]
Head
- Round 20: (Front loops only) INC in each stitch. [24]
- Round 21: (1 SC, INC) repeat 12 times. [36]
- Rounds 22–30: SC in each stitch. [36]
- Round 31: (4 SC, DEC) repeat 6 times. [30]
- Round 32: (3 SC, DEC) repeat 6 times. [24]
- Round 33: (2 SC, DEC) repeat 6 times. [18]
- Round 34: (1 SC, DEC) repeat 6 times. [12]
- Round 35: DEC in each stitch. [6]
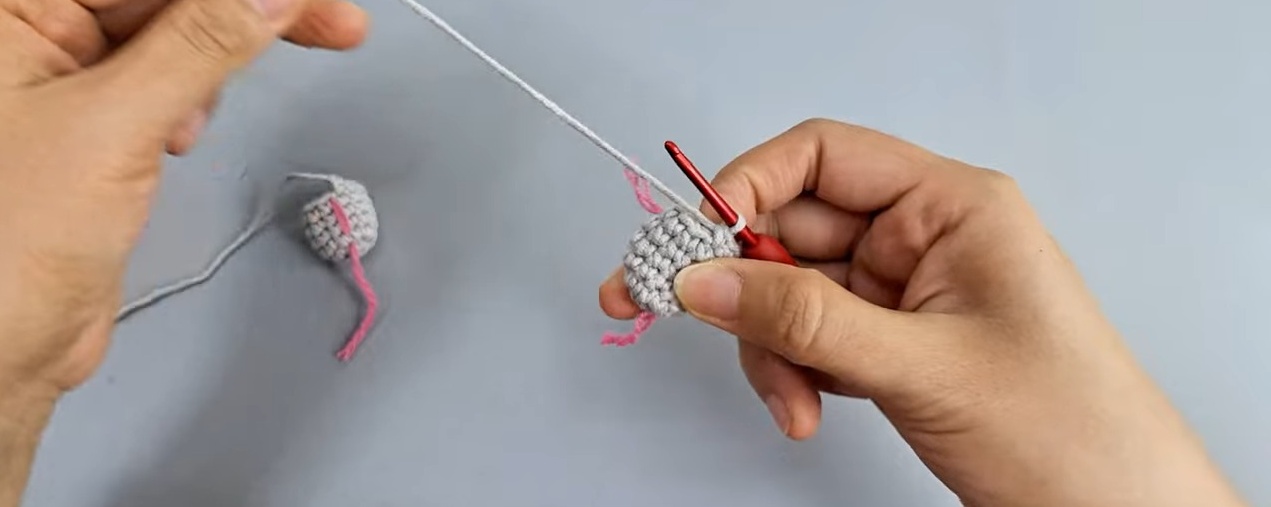
Ears
Make 2 ears:
- Round 1: 6 SC in magic ring. [6]
- Round 2: (1 SC, INC) repeat 3 times. [9]
- Round 3: (2 SC, INC) repeat 3 times. [12]
- Round 4: (3 SC, INC) repeat 3 times. [15]
- Round 5: SC in each stitch. [15]
Arms
Make 2 arms:
- Round 1: 8 SC in magic ring. [8]
- Rounds 2–9: SC in each stitch. [8]
Eyes and Ears Placement
Eyes: Attach 8 mm safety eyes between Rounds 26 and 27 with 6 SC between them.
Ears: Place between Rounds 29–33, ensuring a distance of 5 stitches from the eyes.
The Bow
CH 19, skip 1:
- Slide 1 SC, 1 HDC, 4 DC, 1 HDC, 1 SC, SL ST.
- CH 1 and turn.
- Repeat the entire sequence twice to finish the bow.
Wrap yarn tightly around the middle of the bow to form the center and securely sew it onto the cat.
Tail
- Round 1: 6 SC in magic ring. [6]
- Rounds 2–15: SC in each stitch. [6]
- Attach tail securely between Rounds 10 and 11 of the body.
Finishing Touches
Sew arms, ears, and tail onto the body.
Add a bow to the neck or place it where desired.
Securely weave in all loose ends.