Crochet Oversized Turtleneck Sweater

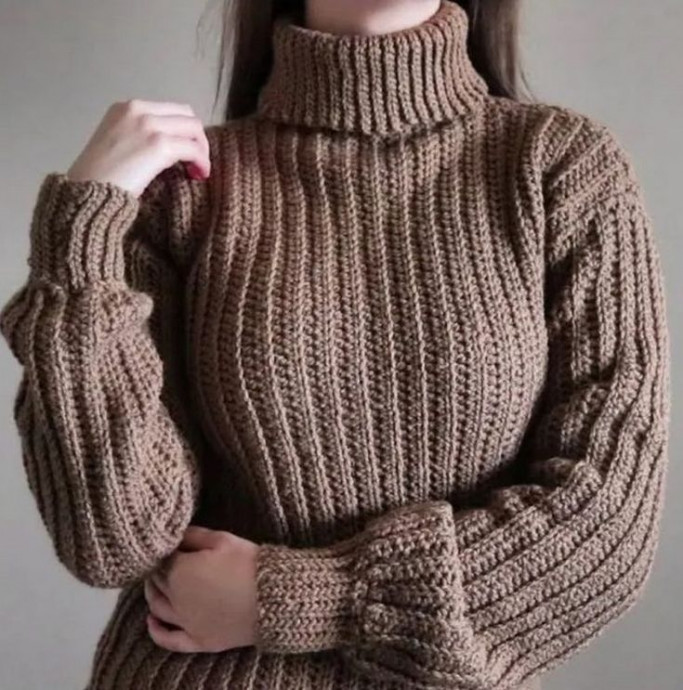
The Crochet Oversized Turtleneck Sweater is the ultimate cozy classic that adds both style and warmth to your wardrobe! With its soft material and relaxed fit, this sweater is perfect for chilly days when you want to feel both comfortable and chic. The oversized turtleneck adds a trendy touch while keeping you snug and toasty. Whether you're lounging at home or heading out for a casual outing, this sweater is sure to be your new favorite go-to piece!
Materials Needed
- Category 4 yarn of your choice (approximately 1200-1500 yards, depending on size).
- 5 mm crochet hook.
- Scissors.
- Tapestry needle for weaving in ends.
Stitch Abbreviations
- ch = chain
- sl st = slip stitch
- sc = single crochet
- hdc = half double crochet
- fp hdc = front post half double crochet
- bp hdc = back post half double crochet
- blo = back loop only
Pattern Overview
This sweater consists of multiple components:
- Bottom Border: Ribbing that lays at the base of the sweater.
- Back and Front Panels: Main body components for sweater construction.
- Seaming: Joining panels to form the sweater’s structure.
- Turtleneck: High, cozy collar that folds over.
- Sleeves and Cuffs: Completing the sweater with fitted sleeves and detailed cuffs.
Step-by-Step Instructions
1. Bottom Border
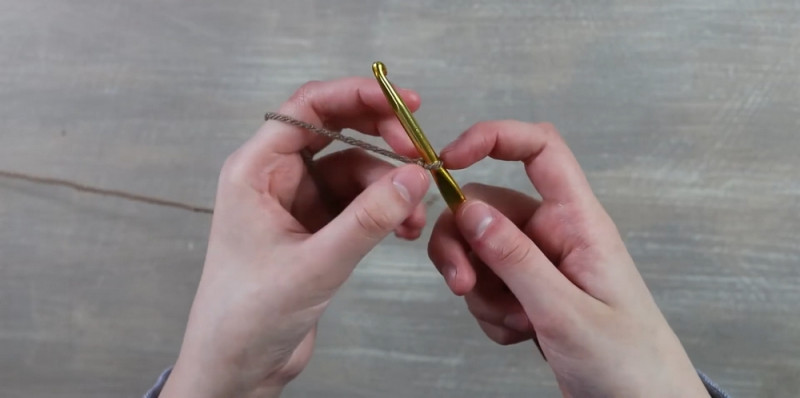
Step 1: Create the foundation chain
Begin with a slip knot and make a chain of 71 (or adjust size as required).
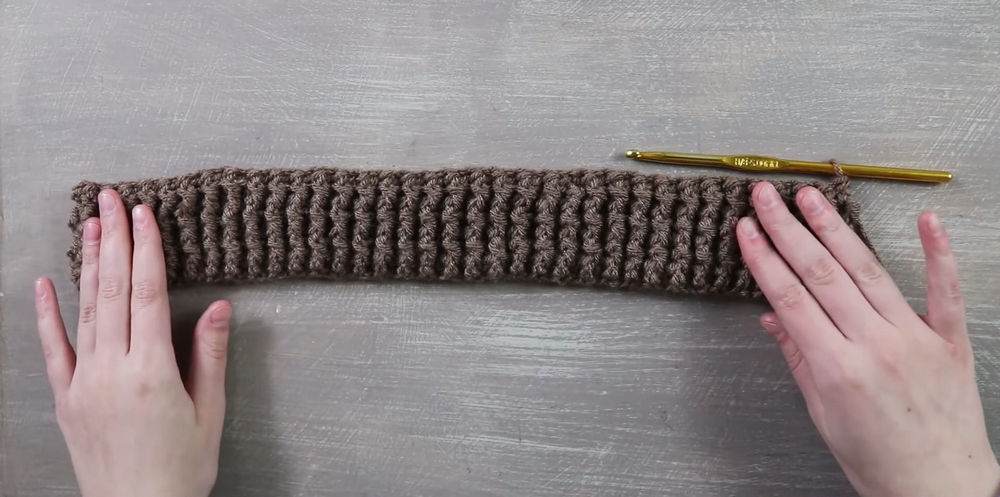
Step 2: Work Rows of Half Double Crochet (hdc)
Row 1: Starting in the 2nd ch from the hook, work hdc across the chain. You should have 70 hdc at the end of this row.
Rows 2–7: Begin each row with ch 1 (does not count as a stitch). Alternate between fp hdc (front post half double crochet) and bp hdc (back post half double crochet) for a ribbed look. Repeat this process until you have 7 rows in total.
Step 3: Back Panel
Step 1: Create the foundation chain
Work directly from the completed bottom border. Make a chain of 79 for the back panel.
Step 2: Work Half Double Crochets Across
Row 1: Starting in the 2nd ch from the hook, work hdc across to create 78 hdc in total. Join the row to the bottom border by slip stitching three stitches along its edge.
Step 3: Alternate Rows
Row 2 (Back Loop Hdc): Starting in the 4th stitch along the bottom border, work blo hdc into each stitch across.
Row 3 (Regular Hdc): Work hdc into each stitch. Repeat Rows 2 and 3 until the back panel reaches the desired length. Fasten off and weave in ends.
3. Front Panel
Your front panel follows the exact same process as the back panel. Create a second identical panel to form the front of the sweater.
4. Seaming the Panels Together
Step 1: Align panels
Place the front and back panels with the “good sides” facing each other (ribbed texture side inward). Align corners.
Step 2: Seam the edges
Using a sl st or sc, join the panels along the edges, leaving a 6-inch gap at the top on both sides for armholes. Seam the top edges, leaving 5-inch gaps on both sides for the neck opening. Fasten off once complete and weave seams securely.
5. Turtleneck
Step 1: Foundation Row
Insert your hook anywhere along the neck opening and join with sl st. Work sc evenly around the neck opening.
Step 2: Create Ribbing
Work a ch 30. Row 1: Starting in the 2nd ch from the hook, work sl st into each ch (29 sl st in total). Seam this row to the neck opening with sl st and turn your work.
Step 3: Alternate Rows
Row 2: Work blo sl st into each stitch along the strip.
Row 3: Repeat the process regularly. Repeat both rows, alternating back loop slip stitches, to form the turtleneck ribbing around the neck. Seam the ends together and fasten off. Fold the turtleneck down for the finished look.
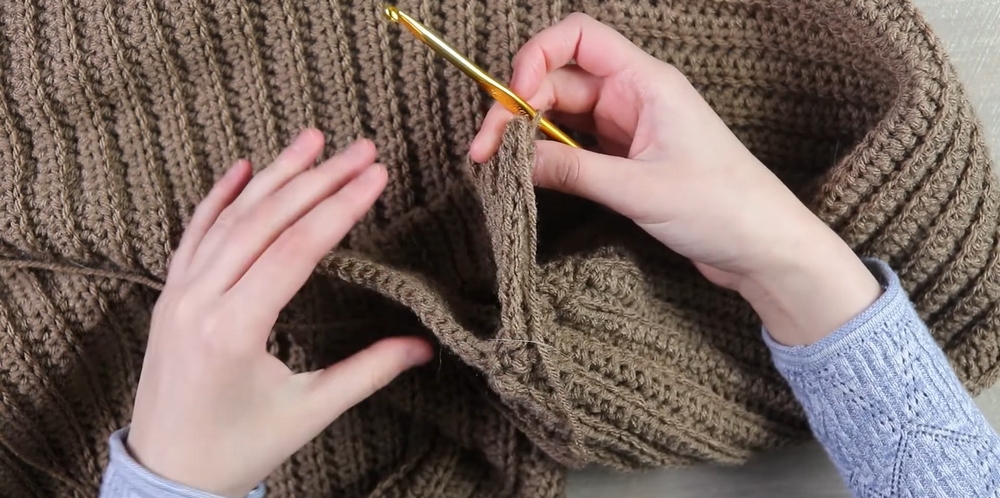
Step 1: Foundation Row
Insert your hook into the seam of one armhole. Join with sl st. Work sc evenly around the armhole as a foundation row, ensuring the total stitch count is a multiple of 3.
6. Sleeves
Step 2: Create Sleeves
Create a chain of 70. Work hdc into the 2nd ch from the hook across all stitches. Join to the armhole edge with sl st to secure the sleeve.
Alternate rows:
- Row A: blo hdc across.
- Row B: Regular hdc.
Repeat Rows A and B to form the sleeve length.
Step 3: Seaming the Sleeve
Seam the sleeve edges together using sl st or sc, ensuring alignment. Fasten off and turn the sleeve right-side out.
7. Cuffs
Step 1: Foundation Row
Join the hook at the base of the sleeve and work sc evenly around.
Step 2: Create Ribbing
Make a ch 16. Row 1: Starting in the 2nd ch from the hook, work sl st across the chain. Connect this row to the sleeve base using sl st, then turn your work.
Step 3: Alternate Rows
Repeat rows of blo sl st for a ribbed cuff. Seam the edges together using sl st or sc. Finish off and weave in ends.
8. Final Steps
Create the second sleeve and cuff by repeating the same process on the other armhole. Weave in all loose ends securely using your tapestry needle. Block your finished sweater if necessary for a polished look.
