Crochet Chic Cotton Vest
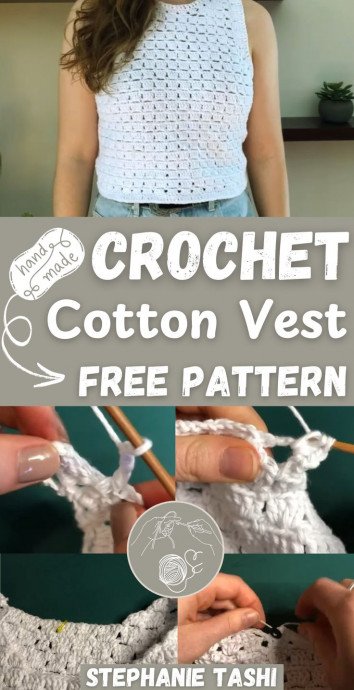
Looking for the perfect addition to your wardrobe? The Crochet Chic Cotton Vest is a must-have for any fashion lover! This stylish vest combines the classic charm of crochet with the lightweight comfort of cotton, making it a versatile piece that can be dressed up or down effortlessly. With its chic design and flattering fit, this vest is sure to become your go-to layering piece for any occasion. Embrace your unique style and stay comfortably chic with this fabulous crochet vest!
Materials Needed
- 8 ply cotton yarn
- 3.5 mm hook
Getting Started
Front and Back Panels: These are nearly identical, with only the neckline differing.
Slip Knot: Begin with a slip knot and insert your hook.
Chain: Chain 88 for a small size. Adjust based on your size, ensuring it's divisible by four.
Measure around your waist or against an existing top.
Creating the Panels
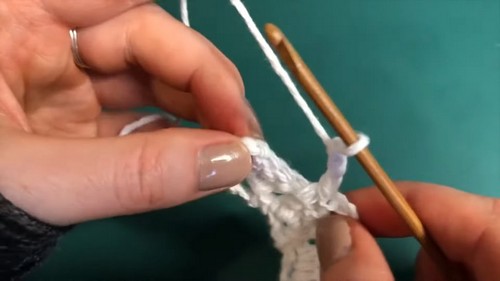
Row 1: Insert hook into the second stitch from the hook and do a slip stitch. Chain 3, then single crochet around the chain row. You should have 22 gaps for a small size.
Row 2: Chain 3 and turn. Add 3 double crochets into the first gap, then 4 double crochets into each remaining gap.
Row 3: Chain 1, turn. Chain 3, and then single crochet through the gaps between double crochets.
Repeating Rows: Alternate between rows of chains and single crochets, and rows of double crochets. Repeat until you have 10 double crochet rows.
Decreasing for Armholes
Creating Armholes: After 10 double crochet rows, create armholes by doing slip stitches into the top of the first three double crochets.
Continue as usual, leaving the last group of four double crochets empty.
Slanting Rows: Turn work and create a slant using a slip stitch, single crochet, half double crochet, and double crochet. Continue with 4 double crochets in each gap, ending with the slant stitches.
Repeat this pattern for 4-5 slanty rows until armhole is the desired size.
Creating the Neckline (Front Panel)
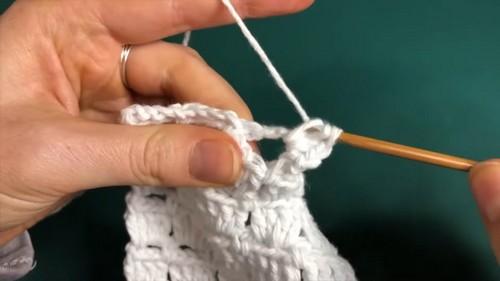
Neckline Shaping: After the armhole, do the first 4 stitches, then start the slanty decrease row.
Continue with slanty rows to shape the neckline.
Repeat the pattern until the neckline is shaped, and create the other side in reverse.
Back Panel
Repeat the steps for the front panel, but without the neckline. Make seven double crochet rows above the armpit.
Joining Panels
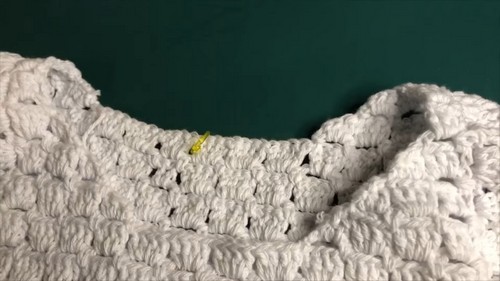
Stitch the front and back panels together at the shoulders and sides.
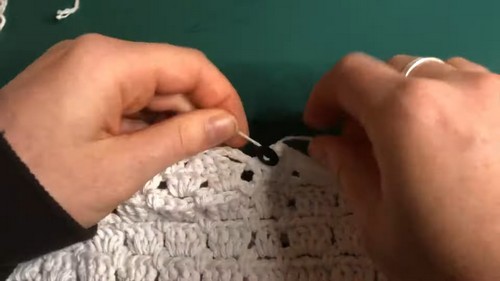
Trimming
Armhole Trim: Start at the underarm, chain 1, then do 3 chains and 1 single crochet around the armhole. Do 3 double crochets in each gap next to a slanty stitch, then 4 double crochets in the remaining gaps.
For the next row, do double crochets into each stitch, skipping the first one. Stitch two together to create an angle for the armpit.
Neck Trim: Start at the back, chain 1, then do 3 chains and 1 single crochet around the neck. Do 3 double crochets into each gap, then 2 double crochets and stitch two together around.
Bottom Trim: Chain up 3 and do 4 double crochets into each gap around. Then, do 1 double crochet into every stitch around.
Finishing
Sew a button onto the back of the neck if needed.
