How to Craft the Crochet Lloyal Llama

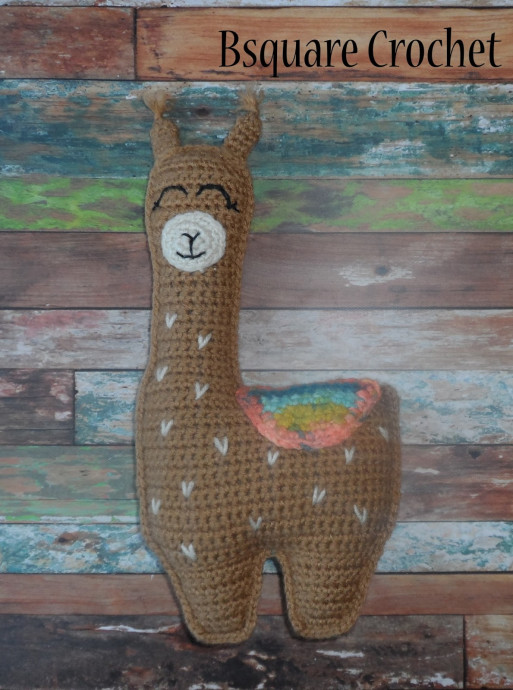
The Crochet Lloyal Llama is an adorable and charming addition to any crochet enthusiast's collection. With its unique design and intricate details, this lovable llama brings joy and whimsy to your crafting endeavors. Whether you're a beginner or a seasoned crocheter, this fluffy friend is a delightful project to work on, offering both a creative outlet and a sense of accomplishment once completed. Imagine the smiles it will bring as a handmade gift or as a fun decoration in your home. Embrace the joy of crafting with the Crochet Lloyal Llama and let your creativity soar!
Before You Begin
Before you embark on this creative journey, familiarize yourself with the following abbreviations:
Materials
Body Panels (Make 2)
- Chain 25, SC in 2nd chain from hook. SC across (24).
- INC in first stitch, SC in the next 22, INC in last (26).
- INC in first stitch, SC in the next 25, INC in last (28).
- SC across (28).
- Rows 5-16: SC across (28).
- SC 26, DEC in last two (27).
Start Neck
- DEC, SC 24 (26).
- DEC, SC 10 (11).
- DEC, SC 9 (10).
- DEC, SC 8 (9).
- Rows 22-32: SC 9, turn chain 1 (9).
- INC, SC 8 (10).
- INC, SC 9 (11).
- INC, SC 10 (12).
- Rows 36-42: SC 12 (12).
- DEC, SC 8, DEC (10).
- DEC, SC 6, DEC (8).
- DEC, SC 4, DEC (6).
Legs
Working on the body panel with the head facing down. Attach yarn to the bottom left, working right.
- SC 11 across.
- DEC, SC 7, DEC (9).
- SC 9.
- SC 9.
- DEC, SC 5, DEC.
- SC 7.
- SC 7.
- DEC 3, DEC.
- SC 5.
Repeat rows 1-9 for the 2nd leg working on the opposite side. Tie off and complete the same steps for the 2nd body panel.
Ears (Make 2)
- SC 6 in MC.
- Rows 2-6: SC in each stitch (6).
Tie off.
Mouth
Using a lighter contrasting color. Do not join and work in continuous rounds. Use a stitch marker if helpful.
- SC 6 in MC.
- Work 2SC in the first stitch, 3SC in next, 2SC, 2SC, 3SC, 2SC (14).
- Work 1SC in the first stitch, SC in next, 2SC in next, SC, 2SC, SC in next 4 stitches, 2SC, SC, 2SC, SC.
Tie off and embroider mouth/nose with black embroidery floss.
Assembly
Embroider two eyes on the top panel. Sew mouth just below the eye. You can take a long piece of the lighter yarn and make random V shapes around the body. Tack or pin ears on the top panel. Line up the two body panels, then beginning at the bottom of the back of the neck, begin SC around the body. When you get to the ears, slip stitch through panel 1, ear, and panel 2. Continue SC around. Repeat steps for ear 2, then continue SC around the body. Stop when you have finished crochet around the entire neck and stuff, then continue around the body. Place 2SC in corners or around feet if needed (if your work is curling too much or you crochet tight). When you have about an inch left to crochet, finish stuffing the body. SC the rest of the way and slip stitch to close.