Topics
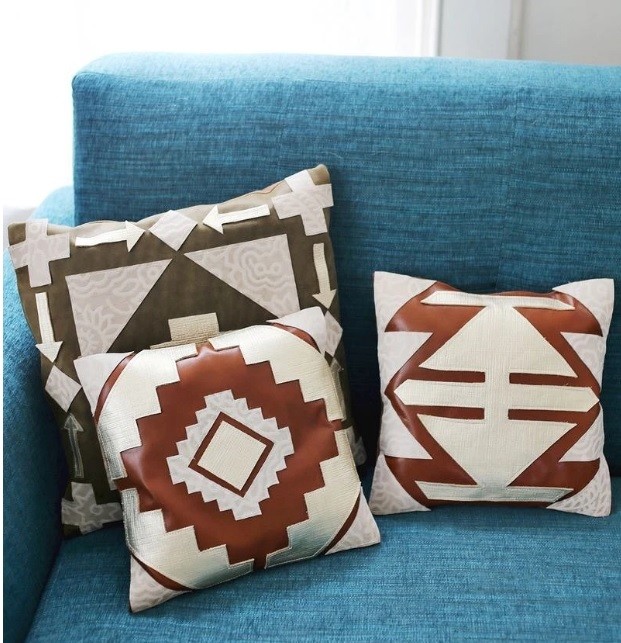
Pillow Case with Leather Appliques
You’ll Need: Leather; Scissors; Craft knife; Cut out mat; Glue for leather; Sewing machine; Threads; Pencil; Paper. Instructions Step 1: Design Your Pillowcases Design sketches for your pillowcases and draw them on paper. Step 2: Create Paper Patterns Make paper patterns of the pillowcases. Transfer application sketches to individual sheets and cut them out. Step 3: Cut Leather and Cotton Cut 1 piece of leather for the pillowcase, 1 piece of cotton, plus the leather appli...
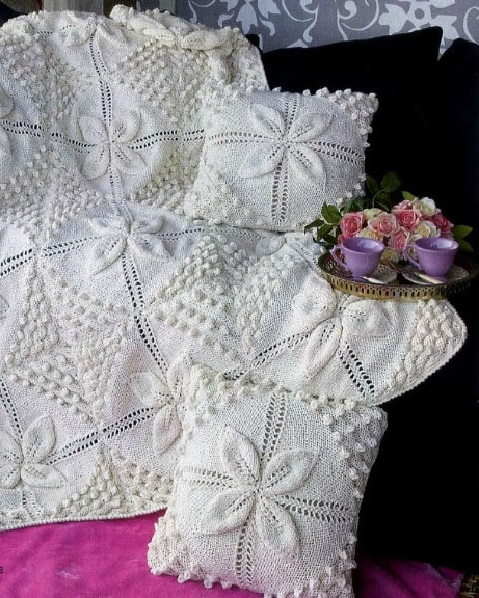
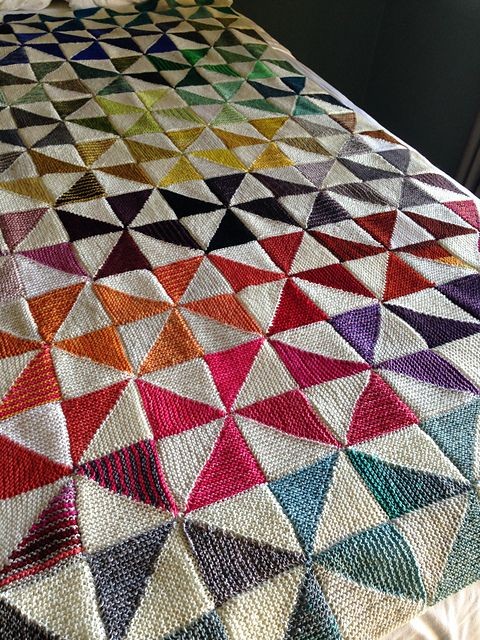
Square Motifs Blanket
You’ll Need: 2200g of mixed content yarn; Straight knitting needles size 6; Crochet hook size 5. Size: 120 x 160 cm. Instructions This plaid consists of 12 squares, each including 4 rhombs. Cast on 5 chain sts, including 2 selvedge sts. 1 st -37 th rows: follow the pattern, making increases in the right-side rows. From 38 th row: continue as per the pattern, making decreases in right-side rows by binding off 2 sts from both sides. Place A (see the pattern) – stockinette stitch. ...
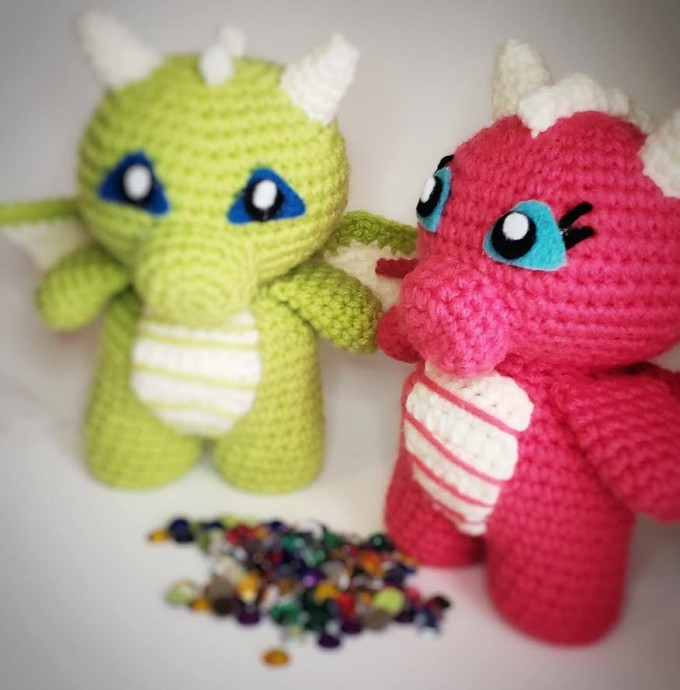
Helping our users. Crochet Amigurumi Dragon.
You’ll Need: Crochet hook 3.5 mm; Scissors; Darning needle; Stitch marker; Polyfill; Worsted weight yarn in two (2) colors. I have used Loops and Threads Impeccable in Arbor Rose (primary color) and Aran (contrast color); Felt in 3 colors for eyes; Fabric or hot glue; Gauge is not important as long as you are aware that the hook and yarn used will impact the size of your final piece. As long as you use a hook small enough and work with a tight tension throughout, you should have no ...
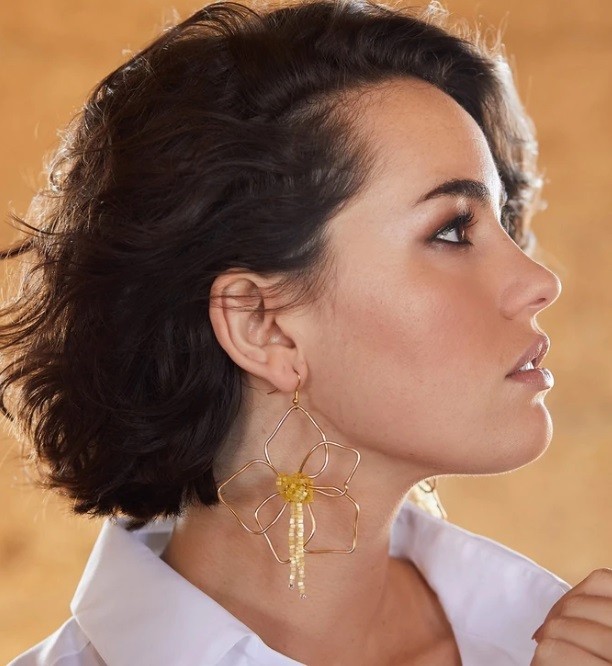
Wire Flowers Earrings
You’ll Need: Special board for working with wire (“Happy Jig”); Side cutters; Flexible aluminium wire; Earwire gold-look; Small and bigger beads; Needle for beads; Nylon threads; Hammer. Instructions Insert chips of various shapes into the board. AS AN ALTERNATIVE, THE WIRE CAN BE BENT MANUALLY WITHOUT ADDITIONAL TOOLS. Bend the aluminum wire around the chips and give it the shape of five petals. Attach earwire to one of the petals. Bite off the unnecessary ends of the wire w...
Knit Shells Stitch
Work Due to the Scheme Work due to the scheme. Understanding Stitch Calculation The quantity of stitches is multiplied by 26 + 1 + 2 selvedge stitches. Row Repetitions Make the 1 st -18 th rows once, then repeat the 3 rd -18 th rows.
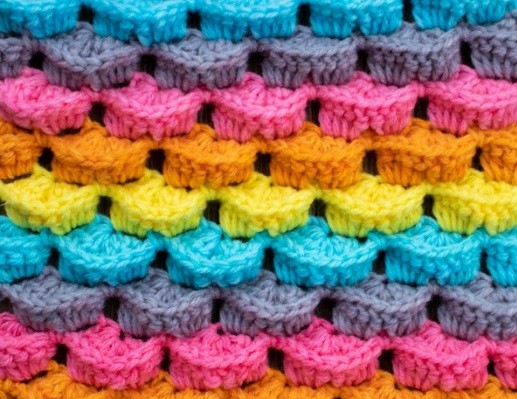
3D Crochet Stitch
Introduction This guide will help you create a stunning crochet pattern using chain stitches and various crochet techniques. Follow the step-by-step instructions for best results. Materials Needed Yarn Crochet hook Scissors Measuring tape Instructions Make 42 chain sts (the quantity of sts is multiplied 8 + 2). Row Instructions 1 st Row : 1 single crochet in the 2 nd chain st from the crochet hook. Repeat (3 chain sts, skip 3 sts, 1 single crochet in the next st) a...
Inspiration. Summer Blankets.
Inspiration for creating the perfect summer blankets can transform your living space into a cozy haven. Think of light fabrics and vibrant colors that reflect the warmth of the season. Consider styles with breathable materials, like cotton or linen, to keep you comfortable on warm nights. Mixing patterns and textures can create an inviting atmosphere, perfect for lounging or entertaining. Types of Summer Blankets Here are some popular choices to consider for your home: Cotton Throws ...
What inspire you to create something?
Hello, my dear crafters! I want to wish you a nice day and positive mood! Hope, you're safe and sound! What Inspires You to Create? What inspire you to create something? Seeing Patterns in Nature Can you see the future patterns, for example, in pictures or landscapes? Share Your Thoughts Share your thoughts, it's very interesting for me!
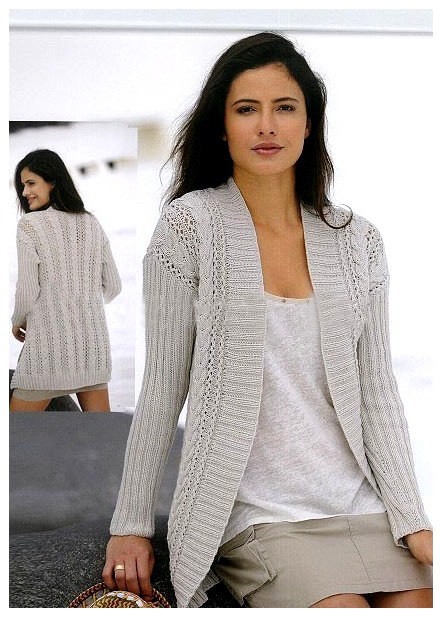
Nice Knit Jacket
You’ll Need: 350 (400) 450g of yarn with mohair content (130m/50g); Knitting needles size 3.5. Size: XS (S) M. Length – 72 cm. Used Patterns: 2 x 2 rib; Relief pattern: the quantity of stitches is multiplied 16 + 1 selvedge stitch. Work according to the scheme. In wrong-side rows, all stitches are made according to the ornament, yarn overs – as purls. Repeat 1 st -8 th rows. Wrong side: in right-side rows – purls, in wrong-side rows – knit stitches. Stitches Control: On relief...
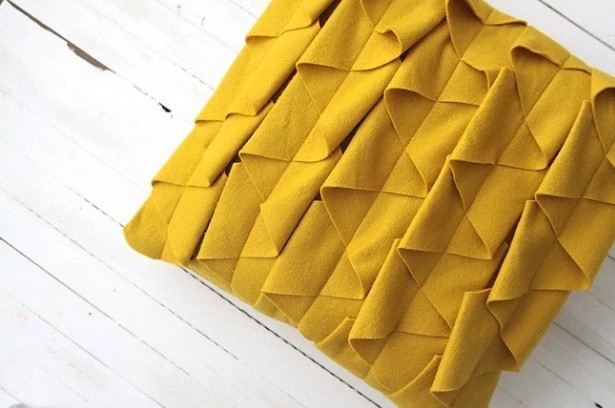
Pillow Case with Fancy Rollers
You’ll Need: Fabric for pillow case (it’s better to take fleece or felt); Scissors; Pins; Sewing machine; Threads; Needle. Instructions Step 1: Preparing the Pattern 1. Measure the pillow and make a pattern design. You need 2 main details of the pillowcase (add 1-3 cm to the loose cushion for the pillow parameters) and several long strips for shuttlecocks. Lay out a detail of the shuttlecock on one of the main parts of the pillowcase, as shown in the photo. Having decided on the ...
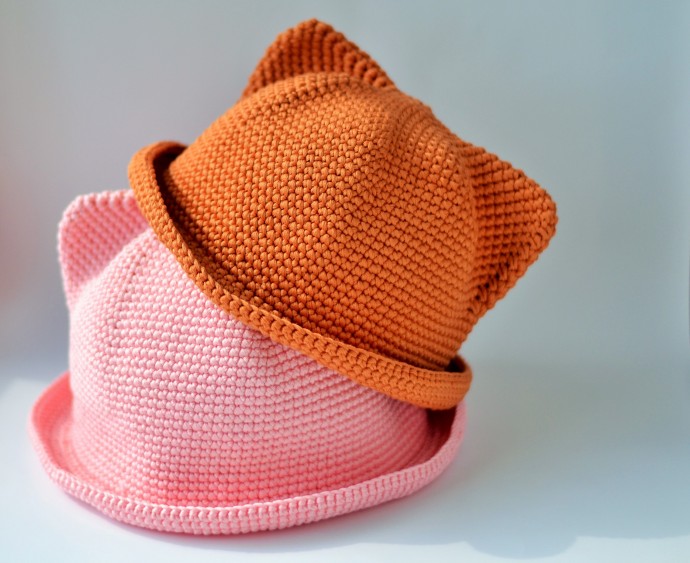
Crochet Summer Kitty Hat
You’ll Need: 100 (150) m of 100% cotton yarn (100m/100g); Crochet hook size 5. Head Circumference 48-50 (54-56) cm. Instructions This hat is made as one-piece work, crocheted helically. Bottom At first, make a ring of chain stitches. 1 st row: 6 single crochets in the amigurumi ring = 6 sts; 2 nd row: 1 increase in every single crochet of the previous row = 12 sts; 3 rd row: *1 single crochet, 1 increase*; repeat from * to * x 6 times = 18 sts; 4 th row: *2 single crochets,...
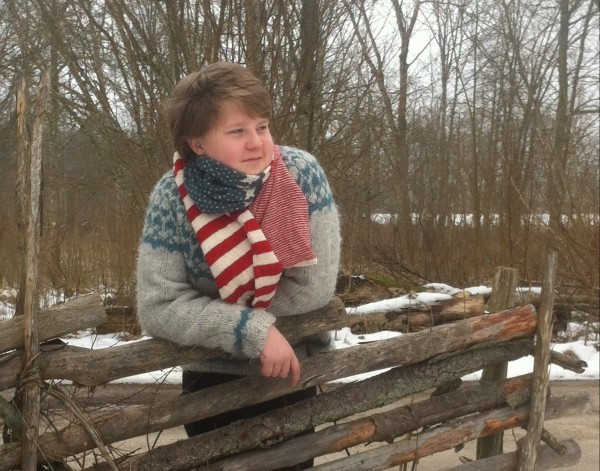
Helping our users. Knit American Flag Scarf.
You’ll Need: Yarn: 300 gr. light fingering yarn* Color A: White Color B: Red Color C: Blue Circle knitting needles 3.5 mm. Gauge: 30 sts 4″ (this is not that important for this pattern) Instructions Cast on 180 stitches in color A. Place a marker and join to work in the round. Be careful not to twist the stitches. Knit 4 rows with color A (white). Row 5: knit with color B (red). Row 6: knit with color A (white). Continue knitting one red and one whi...
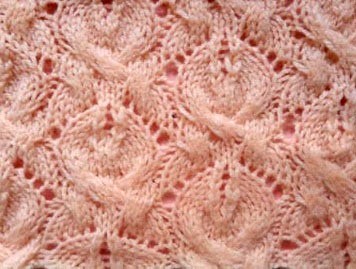
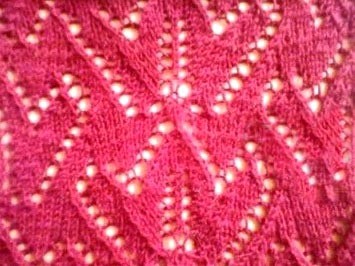
Relief Flower Knit Stitch
Right-side – due to the scheme, wrong-side rows – due to the ornament, yarn overs – as purls. Knit Instructions: 1 selvedge stitch 1 stitch before pattern repeat 38 stitches of pattern repeat 2 stitches after pattern repeat selvedge stitch Height – 24 rows.
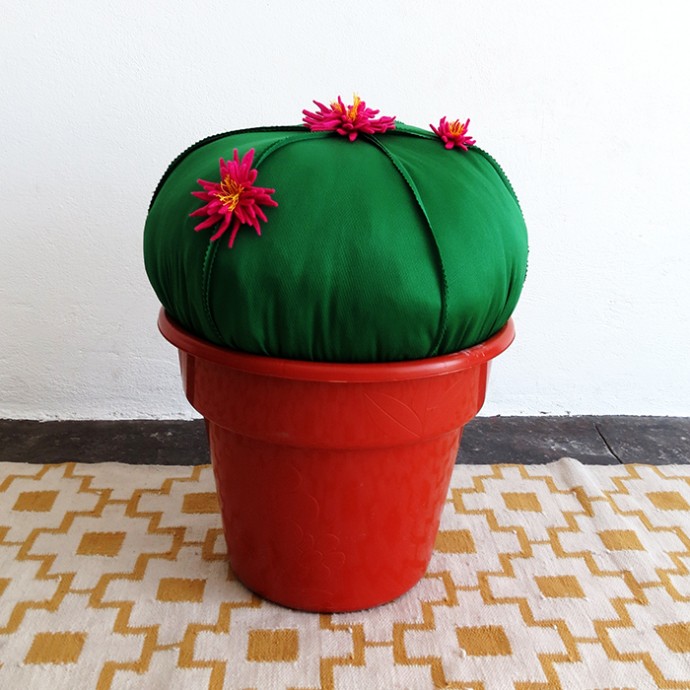
Cactus Ottoman
You’ll Need Green color fabric; Plastic cache pot (33 x 38 cm); Stuffing; Sewing machine; Felt; Mouline threads; Zigzag scissors. Instructions To create an ottoman, you need to make a large pillow of 6 parts, which will fit in a cache-pot. For a pillow, choose a fabric with non-shedding slices, then you can cut a zig-zag with scissors and do not process the slices. For a 33x38 cm planter, cut out the details 1 m long and 30 cm wide. Sew all parts of the pillow together. Sew the las...
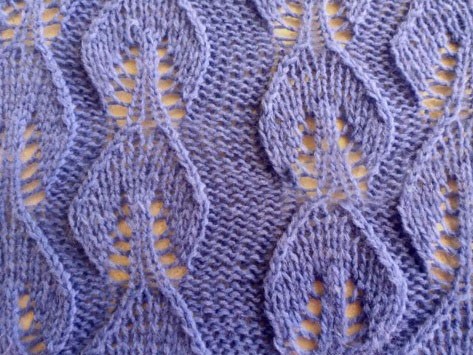
Knit Wrong Side Leaves Stitch
Instructions for Knitting Rows Right-side rows are determined by the scheme, while wrong-side rows are identifiable by the ornament. In this method, yarn overs are treated as purls. Understanding Stitch Markings Empty squares within your knitting pattern indicate no stitches (sts) are to be worked in that particular space. Calculating Stitch Quantity The total quantity of stitches is calculated as 23 plus 2 selvedge stitches. Managing Row Height The desired height of your project shoul...

