Topics
Crochet Cones Pattern
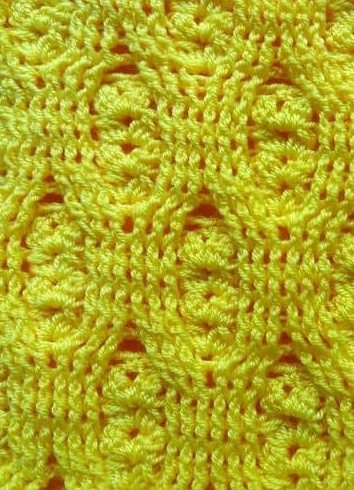
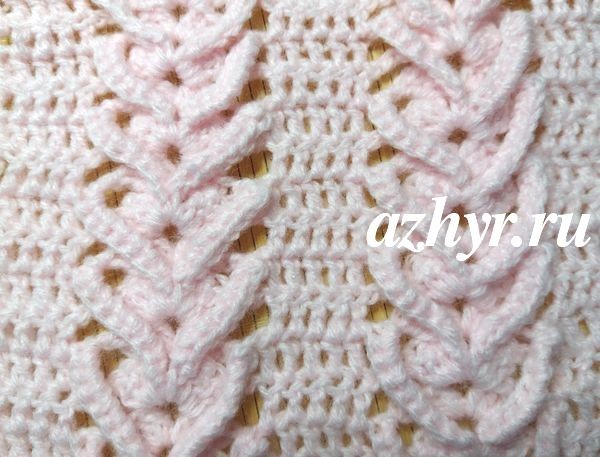
Project Overview Work due to the scheme. Stitch Count The quantity of stitches is a multiple of 10 + 2 + 1 stitches. Row Instructions Make 1 st to 13 th rows once, then repeat rows 2 nd to 13 th .
Inspiration. Knit Shawls.
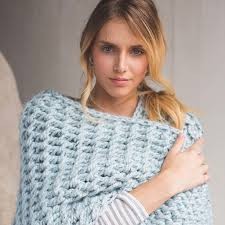
Inspiration for knitting shawls can come from many sources, including nature, art, and fashion. These beautiful garments are not only practical but also a canvas for showcasing your creativity. Types of Shawls There are various styles of shawls you can knit, each with its own unique charm and functionality. Here are a few popular types: Triangle Shawls These classic shawls are versatile and can be worn in multiple ways. They are shaped like a triangle and are often used to showcas...
Favorite Fall Month
Hello, my dear users! I want to wish you a great day! Hope, all of you are safe and sound! Engaging with the Fall Season What is your favorite fall month or do you like this season?
Relief Green Jumper
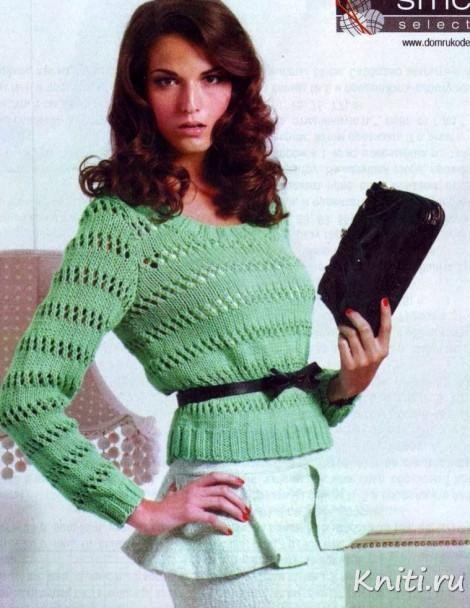
You’ll Need 550 (600; 650; 700; 750)g of Juliette yarn (100% cotton; 50m/50g) in green color (# 02065); Knitting needles 5 and 6; Circular knitting needles 5 (60 cm long). Size S (M; L; XL; XXL). Used Patterns 2 x 2 rib; Main pattern (odd quantity of sts): 1 st -6 th rows: stockinette stitch; 7 th row: 1 selvage st, 1 knit st, * knit2tog, 1 yarn over*; repeat from * to * to the last 2 sts, 1 knit st, 1 selvage st; 8 th row: purl; 9 th row: 1...
Lacy Crochet Poncho
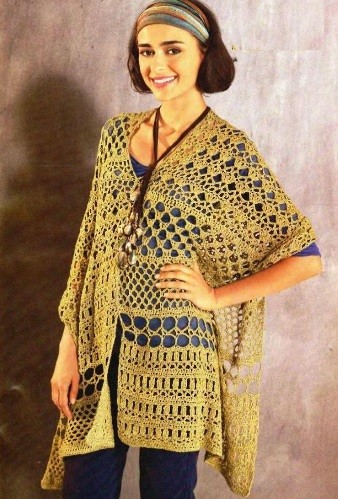
You’ll Need: 450 (500) 550g of sandy Revue yarn (100% polyacryl; 115m/50g); Crochet hook 6. Size: S (M) XL. Used Patterns Combination of patterns: the quantity of sts is multiple 6 + 1. Work due to the scheme. Start every row with stated quantity of chain sts increase instead of the 1 st st or 1 extra chain st increase and sts before pattern repeat, pattern repeat, finish with sts after pattern repeat. Combination of patterns consists of 5 patterns: For pattern A – make 1 st -4 th r...
Helping our users. Crochet Beanie Hat.
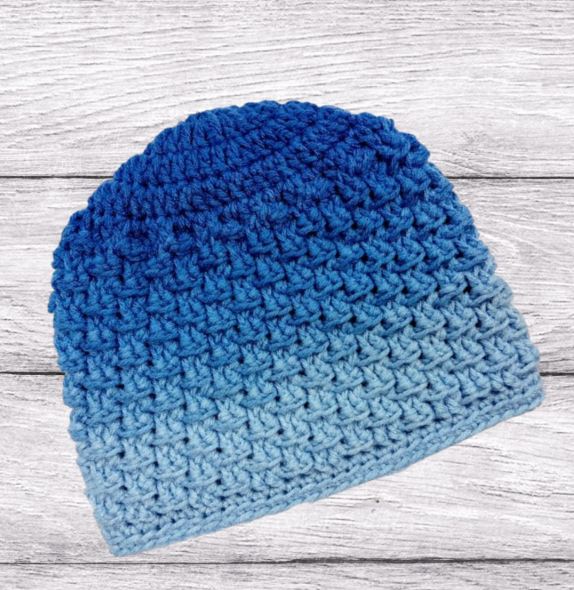
You’ll Need Red Heart Super Saver Ombre 100 % Acrylic, (10 oz / 283 g; 482 yds/ 440 m), [4] Medium Weight Yarn in True Blue color; Crochet hook 5.5 mm; Scissors; Yarn needle; Stitch marker. Stitches Control 13 sts x 12 rows = 10 x 10 cm. Instructions Medium Adult (Woman) Size Finished hat size: 22″ circumference, 8.75″ height. To fit 23″ head size. Rounds RND 1 : MR: ch 3, 12 dc, sl st to the top of first dc to join. [12] RND 2 : Ch 3, 2 dc in each st around; sl st to the fi...
Knit Brown Jacket
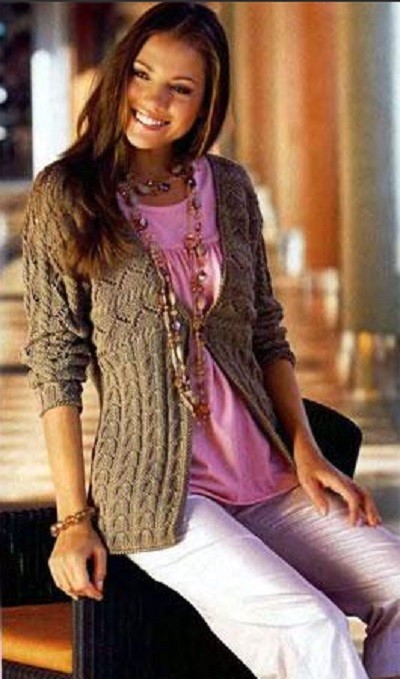
You’ll Need 600g of brown Linnie yarn (100% cotton; 112m/50g); Straight knitting needles 4.5; Crochet hook 4; 1 peg. Size S. Used Patterns 3 x 3 Rib Incorrect side pattern: in RS row – purls, in WS row – knit stitches. Stockinette Stitch In RS row – knit stitches, in WS row – purls. Relief Pattern with Cables (13 stitches wide): Follow scheme 1. Only RS rows are stated, while WS rows are made according to the pattern, with yarn overs treated as purls. Repeat the pattern and fi...
Helping our users. Crochet Filet Bear Blanket.
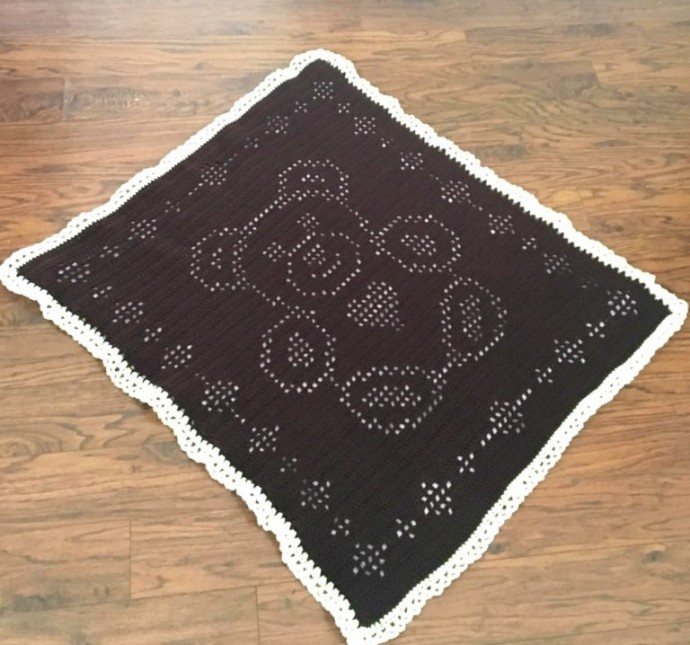
You’ll Need: 900 yards of Worsted Weight Yarn in Blue color; 200 yards of the same yarn, but in white color; Crochet hook 6 mm; Yarn needle. Size: 35″ x 48″ Instructions Chain 111 Rows Instructions Row 1 : Chain 3. Dc in 3rd chain from hook and in each ch across. Row 2-3 : Chain 3. Dc in each st across. Row 4 : Chain 3. Dc in next 8 stitches. (Chain 1. Skip 1. Dc in next 19st.) x’s. 2, Dc in next 4 stitches, (Chain 1. Skip 1. Dc. in next st.) x’s. 2, Dc in next 22 st’s, Ch...
Fancy Knit Pattern with Holes
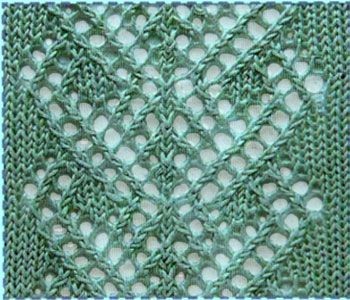
Knitting Pattern Rows 1 st row: * 4 knit sts, knit2tog to the right, 1 yarn over, knit2tog to the right, 1 yarn over, 1 knit st, 1 yarn over, knit2tog to the left, 1 knit st, knit2tog to the right, 1 yarn over, 1 knit st, 1 yarn over, knit2tog to the left, 1 yarn over, knit2tog to the left, 4 knit sts* ; repeat from * to *; 2 nd and all the even rows: Due to the pattern, yarn overs are considered as purls; 3 rd row: * 3 knit sts, knit2tog to the right, 1 yarn over, knit2tog to the right, 1 ya...
Relief Crochet Pattern
Introduction The quantity of stitches is multiple of 14 + 5. Read odd rows from right to left, and even rows from left to right. Row Instructions 1st Row 3 chain stitches increase, double crochets to the end of row; 2nd Row 3 chain stitches increase, 4 double crochets, “shell”, 5 double crochets, “shell”, 5 double crochets; 3rd Row 3 chain stitches increase, 4 double crochets, “shell”, 5 double crochets, “shell”, 5 double crochets; 4th Row 3 chain stitches increase, 4 double croch...
Inspiration. Baby Comforters.
When it comes to creating a cozy and comforting space for your little one, baby comforters play a crucial role. Here we explore various inspirations and styles that can transform your baby’s nursery. Choosing the Right Material Opt for soft, breathable fabrics such as cotton or bamboo to ensure your baby's comfort while preventing overheating. Consider hypoallergenic materials if your baby has sensitive skin. Colors and Patterns Choose soothing colors like pastels and neutrals that promote rela...
Last Fall Month
Hello, my dear friends! As usual, I want to wish you a nice day and mood! Take care of your nearest and you! Fall has practically finished, do you believe that this is the last month of fall? Are you already waiting for Christmas?
Men’s Knit Pullover with Central Cable
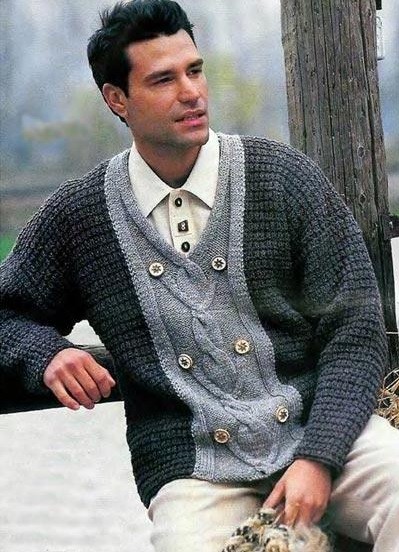
You’ll Need: 550 (600) 600g of dark-grey yarn (100% sheep wool; 100m/50g); 200g of the same yarn, but in light-grey color; Straight knitting needles 4; Crochet hook 3,5; 6 buttons. Size L (XL) XXL. Used Patterns Stockinette Stitch In RS row – knit sts, in WS row – purls; Main Pattern The quantity of sts is odd. 1 st and 2 nd rows: knit; 3 rd row: 1 knit st, 1 purl by turn; 4 th row: due to the pattern. Repeat 1 st -4 th rows. Central Pattern (32 st...
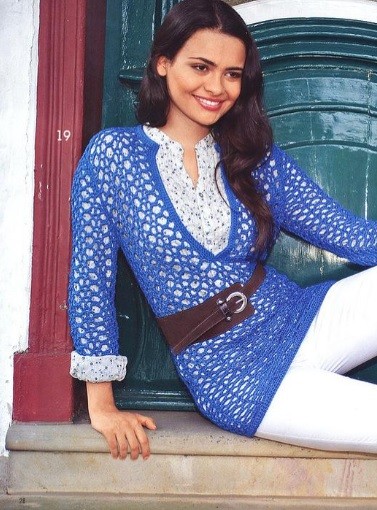
Blue Crochet Pullover
You’ll Need: 450 (500) 500g of blue Bahia yarn (50% viscose, 50% polyacryl; 106m/50g); Crochet hook 4. Size: XS (S) M. Used Patterns: Relief pattern: due to the scheme. Repeat 1 st -3 rd rows x once, then, repeat 2 nd and 3 rd rows. Stitches Control: 18 sts x 10 rows = 10 x 10 cm. Instructions: Back: Make 81 (89) 97 chain sts + 1 chain st increase and make 1.5 cm = 4 rows of single crochets. Then, work with the relief pattern, starting with sts before pattern repeat,...
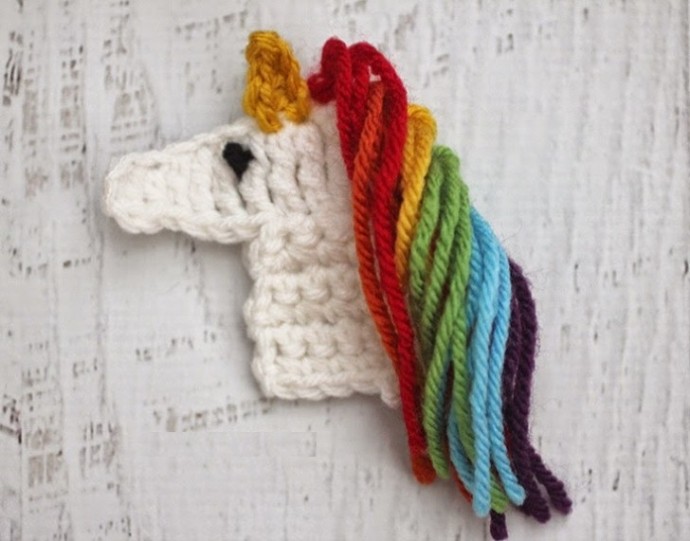
Helping our users. Crochet Unicorn Applique.
You’ll Need Worsted weight yarn. I used Lion Brand Vanna’s Choice in white, red, orange, yellow, green, blue, and purple colors. Crochet hook G. Tapestry needle. Instructions Chain 10, DC in 3rd chain from hook, HDC, DC, TC in last 5, chain 4, TC in 3rd chain from hook and in last chain, join to bottom of last TC, chain 1, turn. SC around back of head and along bottom (about 9 SC), ch 1 turn. 2 SC in first, SC in next 2, 2 SC in last, chain 1, turn. Row 2-5: SC in each stit...

