How to Craft a Cute Crochet Bee Amigurumi Doll
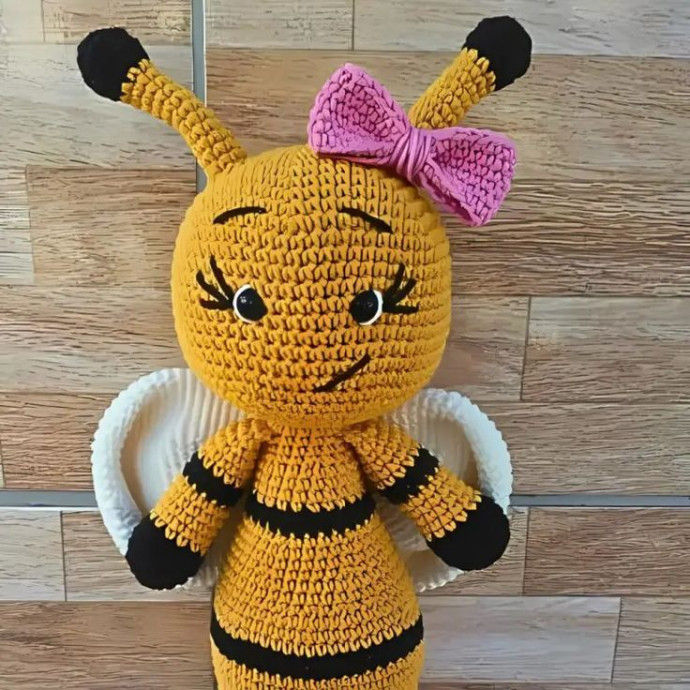
If you're looking for a fun and adorable project, why not try crafting a Crochet Bee Amigurumi Doll? These little bee dolls are not only cute but also great for beginners in crocheting. With their fluffy yarn and sweet details, they make charming decorations or lovely gifts for bee lovers. You can customize them with different colors for stripes or add tiny wings to make them even more lifelike.
Crocheting a bee amigurumi doll is sure to bring a smile to your face and brighten up any space with its whimsical charm!Materials Needed
Here are the materials required to get started on your Crochet Bee Amigurumi:
- Yellow yarn (7069)
- White yarn (8001)
- Black yarn (any suitable black yarn)
- Crocheting hook (2mm)
- Tapestry needle
- Stitch markers
- Scissors
- Safety eyes (11mm)
- Fiberfill stuffing
Abbreviations
- MR: Magic Ring
- sc: Single Crochet
- inc: Increase (2 sc in the same stitch)
- dec: Decrease (sc two stitches together)
- sl st: Slip Stitch
- ch: Chain
Pattern
Little Body
Magic Ring: Make a magic ring (MR).
Body Rows
Row 1: 6 sc into MR. (6 sts)
Row 2: inc in each stitch around. (12 sts)
Row 3: 1 sc, inc around. (18 sts)
Row 4: 2 sc, inc around. (24 sts)
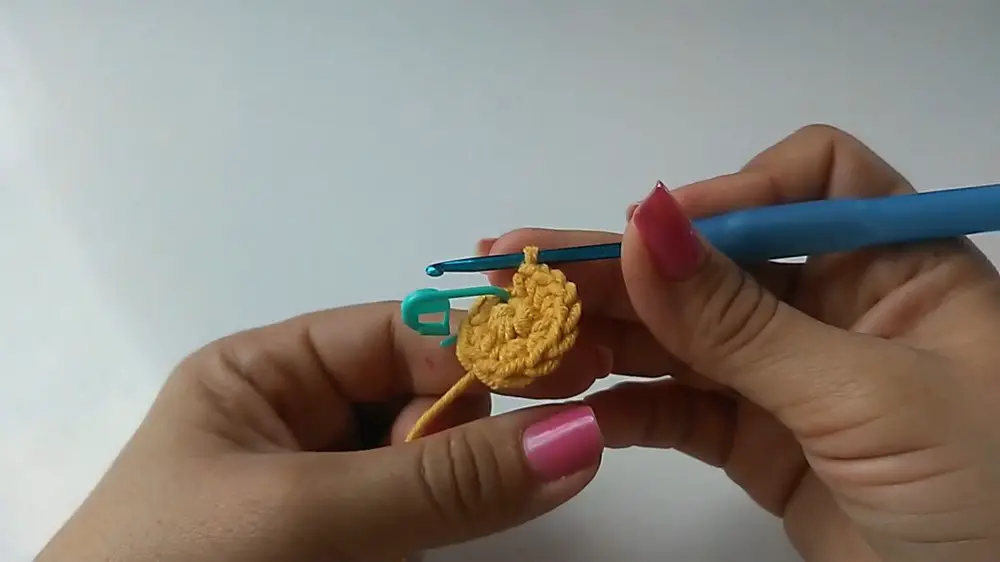
Row 5: 3 sc, inc around. (30 sts)
Row 6: 4 sc, inc around. (36 sts)
Row 7: 5 sc, inc around. (42 sts)
Row 8: 6 sc, inc around. (48 sts)
Row 9: 7 sc, inc around. (54 sts)
Row 10: 8 sc, inc around. (60 sts)
Row 11-21: sc around. (60 sts)
Begin Decreasing
Row 22: 8 sc, dec around. (54 sts)
Row 23: 7 sc, dec around. (48 sts)
Row 24: 6 sc, dec around. (42 sts)
Row 25: 5 sc, dec around. (36 sts)
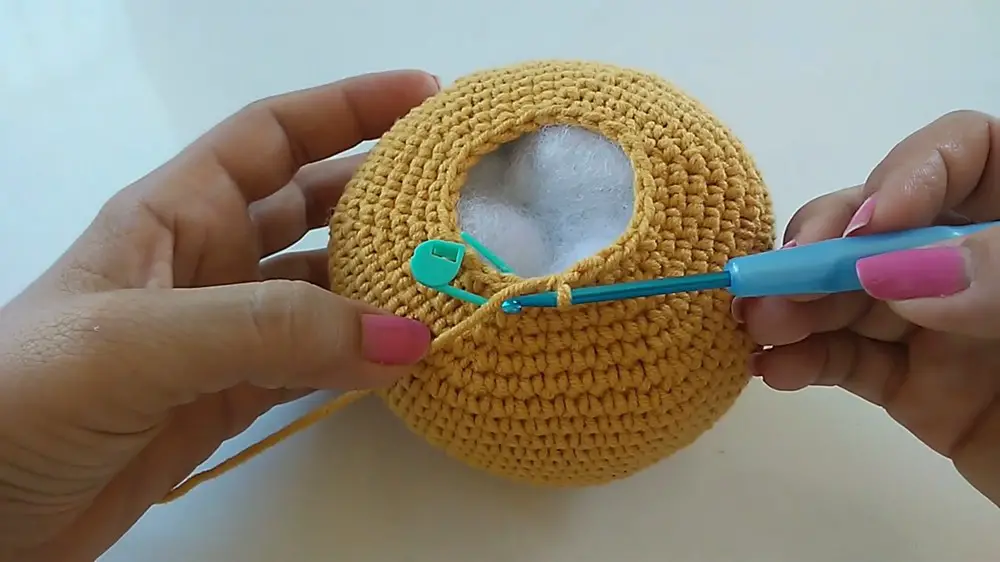
Row 26: 4 sc, dec around. (30 sts)
Row 27: 3 sc, dec around. (24 sts)
Row 28: 2 sc, dec around. (18 sts)
Arms (Make 2)
Magic Ring: Make a magical ring.
Arm Rows
Row 1: 6 sc into MR. (6 sts)
Row 2: inc in each stitch around. (12 sts)
Row 3: 1 sc, inc around. (18 sts)
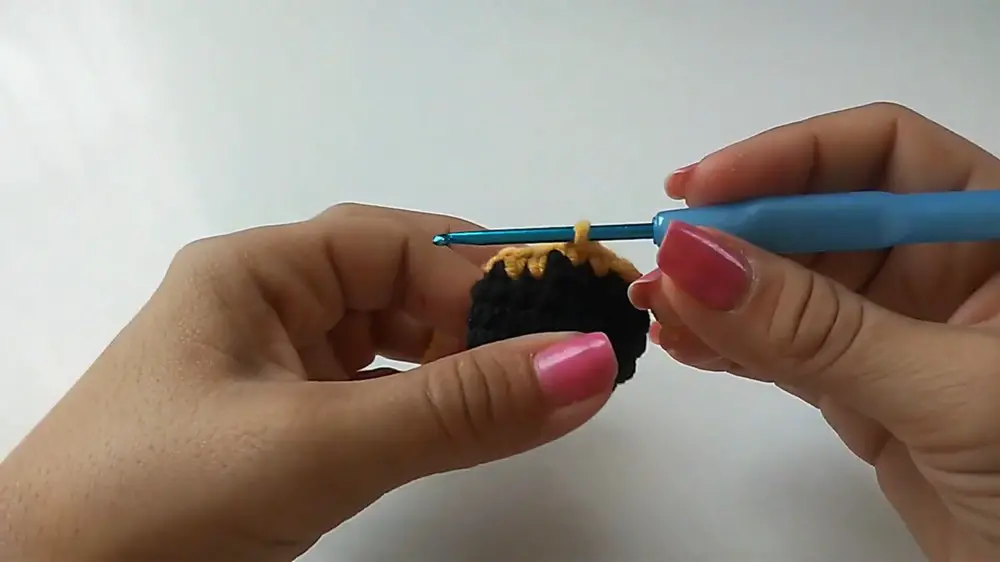
Row 4: 1 sc, dec around. (12 sts)
Row 5: 2 sc, dec around. (9 sts)
Row 6-16: sc around. (9 sts)
Fasten off, leaving a long tail for sewing.
Head
Repeat the same pattern for the body for the head from Row 1 to Row 10.
After finishing row 10, you will have 60 stitches. Continue:
Head Rows
Row 11-21: sc around. (60 sts)
Begin Decreasing
Row 22: 8 sc, dec around. (54 sts)
Row 23: 7 sc, dec around. (48 sts)
Row 24: 6 sc, dec around. (42 sts)
Row 25: 5 sc, dec around. (36 sts)
Row 26: 4 sc, dec around. (30 sts)
Row 27: 3 sc, dec around. (24 sts)
Row 28: 2 sc, dec around. (18 sts)
Antennas (Make 2)
Magic Ring: Create MR.
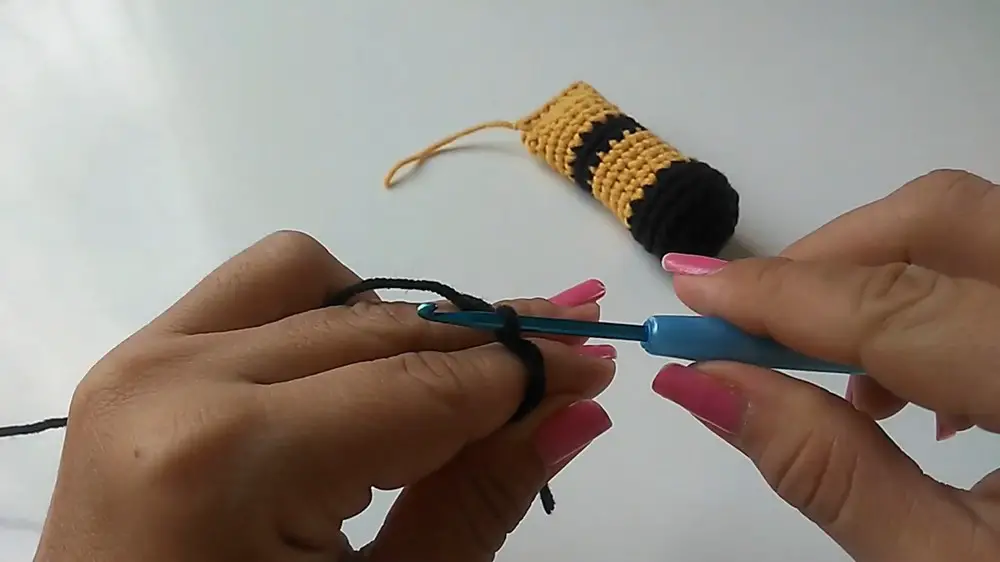
Antennas Rows
Row 1: 6 sc into MR. (6 sts)
Row 2: 1 sc, inc around. (9 sts)
Row 3: 1 sc, dec around. (5 sts)
Row 4: sc around.
(After row 16, the antennas should be firmly stuffed while ensuring enough curvature.)
Wings
Magic Ring: Create MR.
Wings Rows
Row 1: 6 sc into MR. (6 sts)
Row 2: inc in each stitch around. (12 sts)
Row 3: 1 sc, inc around. (18 sts)
Row 4: 2 sc, inc around. (24 sts)
Row 5: sc around. (24 sts)
Face Details
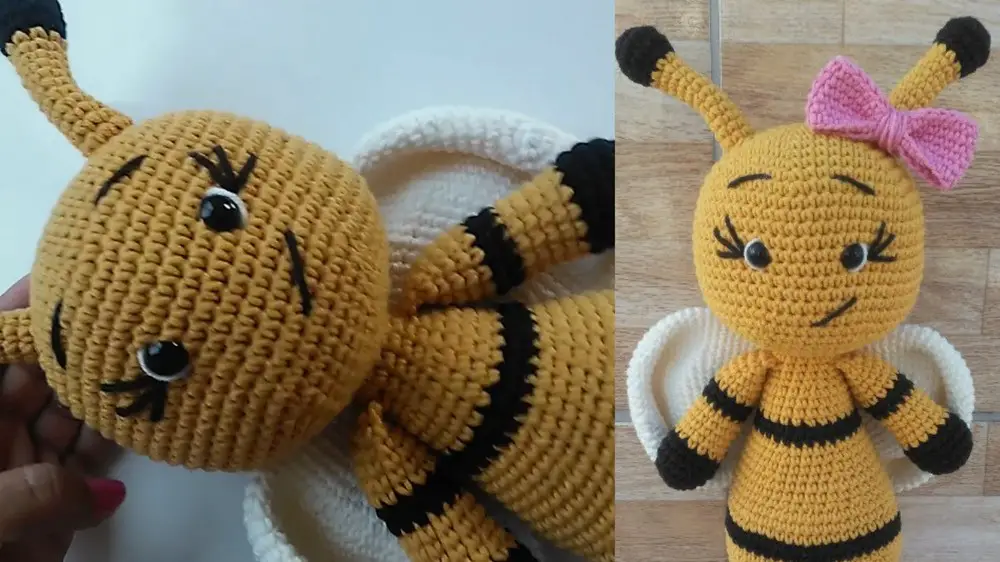
Using 11 mm safety eyes, attach them between rows 15 and 16, with 8 stitches space in between.
Embroider mouth and eyebrows using black thread.
Assembly
- Sew head to body.
- Sew arms to the sides of the body.
- Sew antennas to the head.
- Attach the wings to the back of the body.
- Use a tapestry needle to weave in all ends and trim any excess.
Final Touches
Add any additional details as desired to personalize the bee.
Fill the body and head with fiberfill stuffing to give it shape.
Your cute little Belinha the Bee is ready! Enjoy your new crochet creation.
