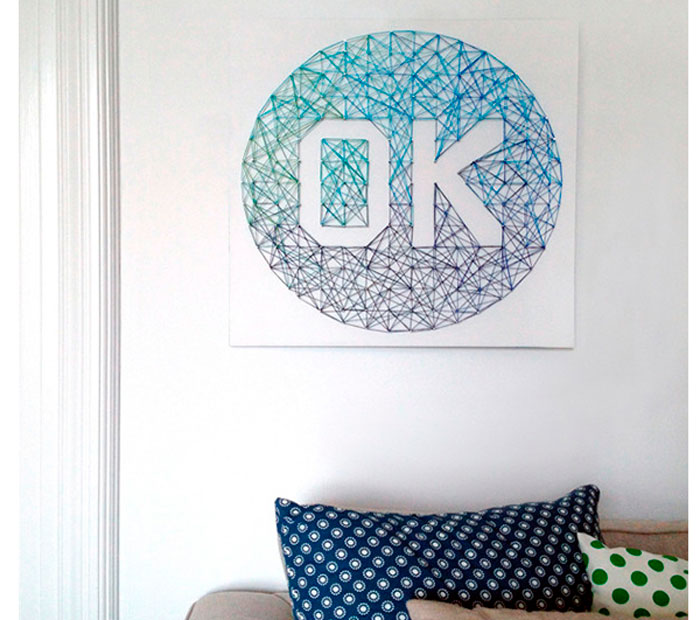
DIY Thread Art with Plywood and Acrylic Paint


You'll Need:
Plywood;
White acrylic paint;
Brush;
Hammer;
Nails;
Threads;
Pencil;
Ruler;
Adhesive tape;
6 white pieces of A4 paper.
Instructions
1. Paint the plywood with white paint, then leave to dry.
2. Print the pattern.
3. Glue 6 sheets together, as shown in the picture below.
4. Place the pattern on plywood and secure with adhesive tape.
5. Drive nails at designated points at the same depth.
6. Remove the paper pattern.
7. Plat the letters OK, then fill the main background with threads, guided by the photo instructions.
8. Thread the middle of the letter O.
No comments
Write a comment
