Craft Your Own Crochet Pumpkin: A Delightful Autumn Project
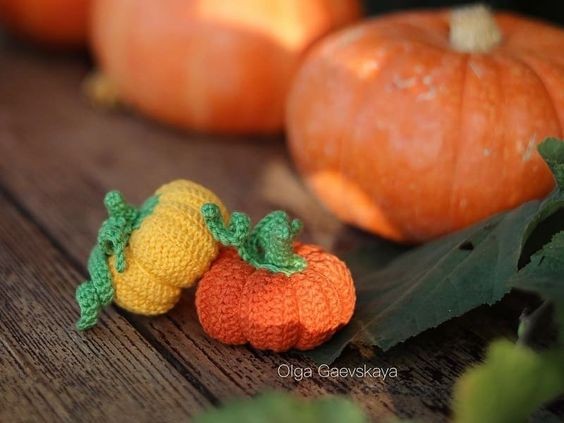
If you're looking for a fun and creative project to try your hand at, why not crochet a small pumpkin? This delightful craft is perfect for both beginners and experienced crocheters alike. With just a few simple stitches and some colorful yarn, you can bring a touch of autumn charm to your home decor.
This delightful project is not only fun to make, but it also allows you to showcase your crochet skills and create a unique piece of decor that will bring warmth and charm to any space. Whether you display it on your mantel, use it as a centerpiece, or give it as a thoughtful handmade gift, your crocheted pumpkin is sure to bring joy.Essential Materials Needed
You will need:
- Gazzal Baby Cotton yarn (60% cotton, 40% acrylic, 50 g/165 m)
- 1.75 mm crochet hook
- Stitch marker
- Sewing pins
- Sewing needle and scissors
- Fiberfill
Free Crochet Pumpkin Pattern
Abbreviations
CH – chain
SL ST – slip stitch
SC – single crochet
INC – increase (2 sc in one stitch)
DEC – decrease (2 sc together)
BLO – back loop only
(… SC) – number of stitches you should have at the end of the row
(…)*8 – repeat whatever is between the brackets the given number of times
Pumpkin Instructions
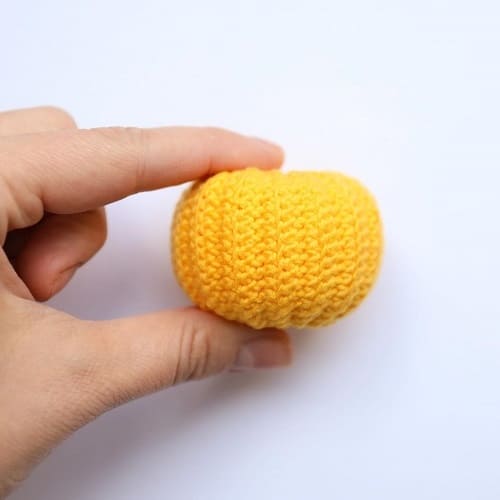
Make CH 16.
Crochet the pumpkin in turning rows, making a turning CH at the end of every row.
1 round: 15 SC
2-30 rounds: 15 SC BLO (29 rounds)
Join the 1st and the 30th rounds by working 15 SL ST through both edges of two rounds at one time.
Don’t cut the thread; we will use it to close the opening on the bottom.
31 round: 15 DEC (15 SC)
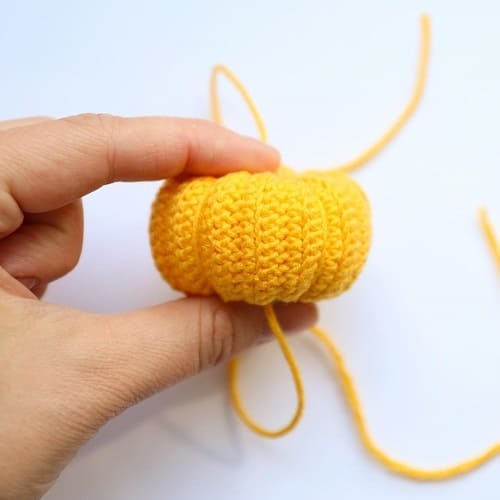
Continue making decreases until the opening is closed. Stuff the piece, attach the thread to the top part, and close the opening in the same way.
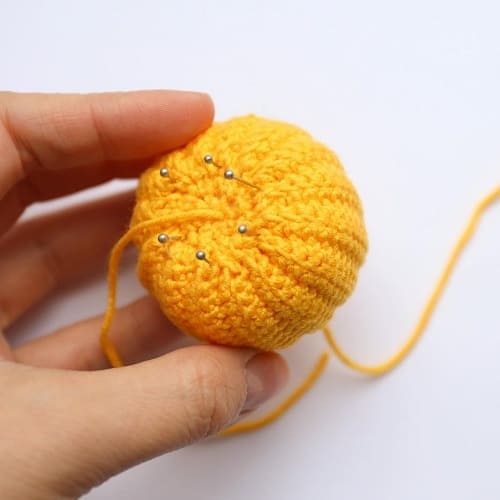
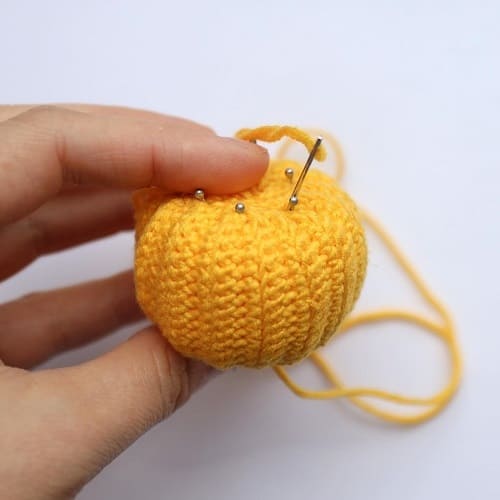
Divide the pumpkin into 6 equal parts, take a needle with a long thread.
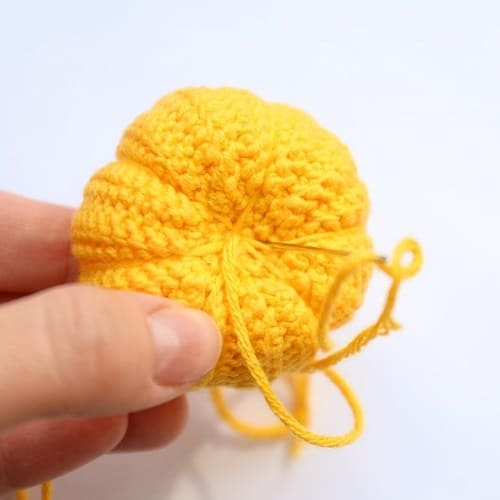
Insert the needle into the piece center on the bottom, leaving a thread tail on the top. Insert the needle into the point, marked with a pin, and pull out from the bottom again. Pull tightly.
Pull all the rest segments in the same way. After the last segment is pulled, the threaded needle is located at the piece bottom. Skip 1-2 mm to return it to the point where we started the needle sculpting, insert the needle, and pull it out from the piece top. Tie two thread tails together and hide the knot.
Pumpkin Stem Instructions
1 round: 5 SC in magic ring
2 round: 5 SC
3 round: 2 SC, 1 INC, 2 SC (6 SC)
4 round: 6 SC
5 round: 3 SC, 1 INC, 2 SC (7 SC)
6 round: 7 SC
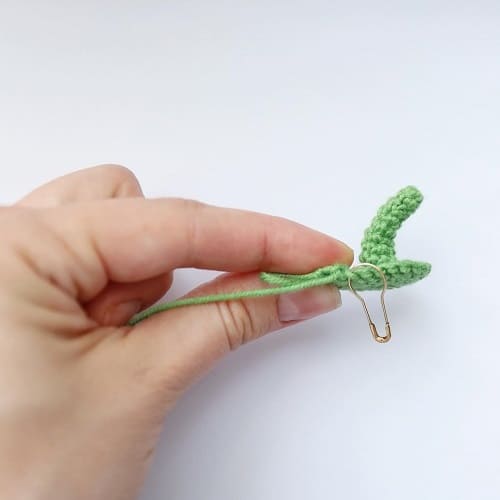
7 round: 3 SC, 1 INC, 3 SC (8 SC)
8 round: 8 SC into front loops only
9 round: 8 INC (16 SC)
10 round: (1 SC, 1 INC)*8 (24 SC)
11 round: 24 SC
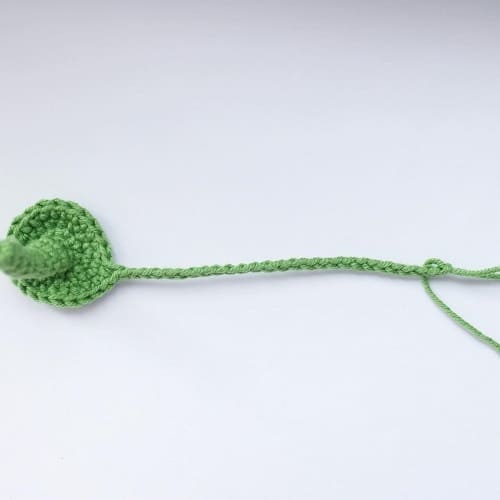
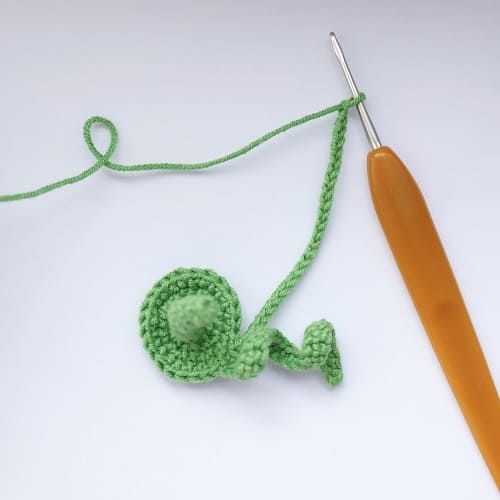
Crochet tendrils without cutting the thread.
Make CH 26, work from the second CH from the hook: 25 SC.
Crochet into the next stitch of round 11: 1 SL ST, CH 26, from the second CH from the hook 25 SC.
Sew the stem to the top part of the pumpkin, twist the tendrils slightly.
The pumpkin is finished!
