

Cozy Crochet Bobble Stitch Chunky Cushion — Easy 45 cm Pattern (UK Terms)

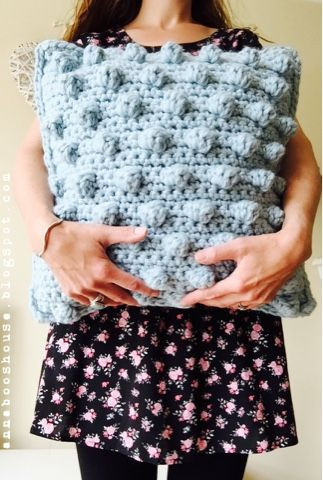
Snuggle up with this chunky, textured Crochet Bobble Stitch Cushion — a quick-to-make, statement accessory that adds warmth and tactile interest to any room. Worked in thick yarn with oversized bobbles, the cushion is ideal for relaxed sofa styling or as a decorative throw cushion on a bed. The pattern below is written in UK terms and was made to fit a 45 cm cushion, but it can be adjusted to other sizes — see the Adjusting the Pattern section.
The Crochet Bobble Stitch Chunky Cushion is the ultimate cozy addition to any home decor. With its textured bobble stitch design and chunky yarn, this cushion provides both comfort and style. Whether you place it on your couch or use it as a decorative piece on your bed, it's sure to bring a touch of warmth and charm to any room. Snuggling up with this cushion is like receiving a warm hug from your favorite blanket, making it the perfect companion for relaxing evenings at home.
I used a 45 cm cushion, but this pattern can be easily adjusted for any size—see under the pattern for how to do it.
Bobble Stitch Cushion
Pattern written in UK terms
- ch = chain
- dc = double crochet
- yoh = yarn over hook
To Make the Bobble Stitch:
- Yoh, hook into stitch, yoh, draw yarn through stitch.
- Yoh, draw yarn through first 2 loops (2 loops on hook).
- Repeat (3 loops on hook).
- Repeat (4 loops on hook).
- Repeat (5 loops on hook).
- Repeat (6 loops on hook).
- Yoh, draw yarn through all loops.
You Need:
- Hook and yarn (whatever you fancy here. I used 4 x balls of Lion Brand Wool-Ease Thick and Quick in Glacier (shade 105) and a 12 mm hook).
- Cushion
- Buttons (I used 4 x 2.5cm)
Pattern
Both sides of the cushion are crocheted in rows. At the beginning of each row, turn your work and ch 1.
Front of Cushion (Make 1)
- Foundation chain: ch 31
- Row 1: dc in each st across row (31 sts)
- Row 2: dc 3, *bobble in next st, dc 3* repeat from * to * across row
- Rows 3-5: dc in each st across row (31 sts)
- Row 6: dc 5, *bobble in next st, dc 3* repeat from * to * across row, until you have 5 sts left, then dc 5.
- Rows 7-9: repeat row 1
- Rows 10-37: repeat the pattern: row 2, then 3 rows of dc, then row 6, followed by 3 rows of dc
Back of Cushion (Make 1)
- Foundation chain: ch 31
- Rows 1-37: dc in each st across row (31 sts)
To Make Up:
Align the front and back pieces with wrong sides together with the bobble side facing you, right-way-up. Beginning at the top left corner and working in a clockwise direction, dc three of the sides together. You will need to put 3 dcs in the corner stitches. Stitch a few buttons along the top of the cushion, on the wrong side of the bobble edge. Use the spaces between the stitches on the back piece as button holes.
Adjusting the Pattern:
To adjust this pattern to fit any cushion, you need to alter the width and height of the front and back panels. To adjust the width, make sure your foundation chain is a multiple of 4 and add 3 more. To change the height, simply add or subtract the total number of rows.
Simples.
Finishing Tips
- Weave in ends securely with a yarn needle to prevent them from working loose with chunky yarn.
- When joining the panels, line up the bobbles so the pattern sits evenly around the cushion.
- If using buttons, test placement on the back panel before sewing to ensure the buttonholes line up with the back stitches.
- Lightly block or steam pieces if necessary to even out rows before assembly, but take care with synthetic blends and chunky yarns.
- Funny Pictures
-
 Parenting Tweets for the Ones Out There Doing Their Best
-
 Mom Memes That Will Make You Laugh So Hard it Will Wake up Your Kids
-
 Too True Memes Just to Have a Great Evening
- Recipes
-
 Mango “Burrito” Bowls with Crispy Tofu and Peanut Sauce
-
 Baked Beignets
-
 Balsamic Caramelized Shallot Pasta
- Lifehacks
-
 Crochet Pineapple Stitch
-
 Crochet Creative Shell Stitch Tutorial
-
 Crochet Leaf Stitch Tutorial
- Crochet Ideas
-
 Crochet Pumpkin Bear
-
 Crochet Santa Placemat
-
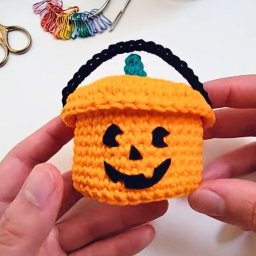 Crochet Mini Boo Bucket for Treats and Decor
- DIY
-
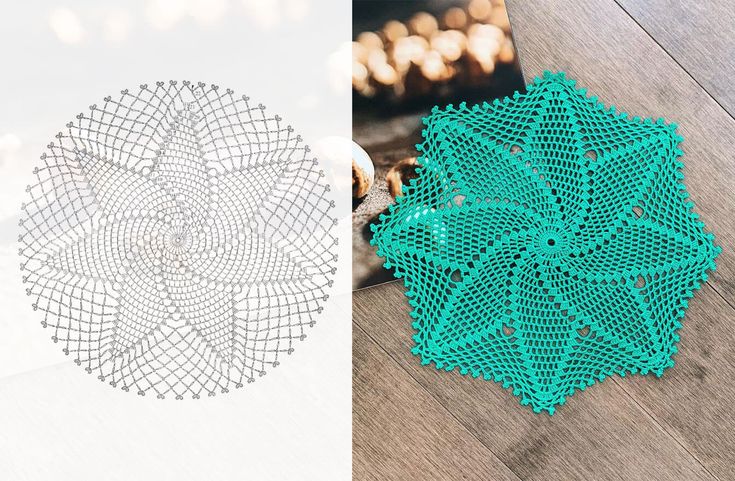 Make a Crochet Spiral Star Doily — Free US-Term Pattern & Tips
-
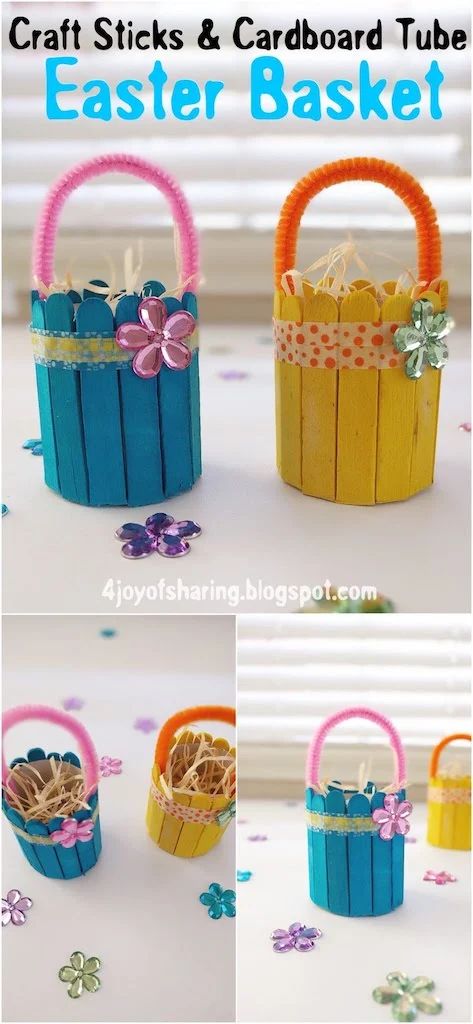 Easy DIY Easter Basket from Craft Sticks and a Cardboard Tube — Step-by-Step
-
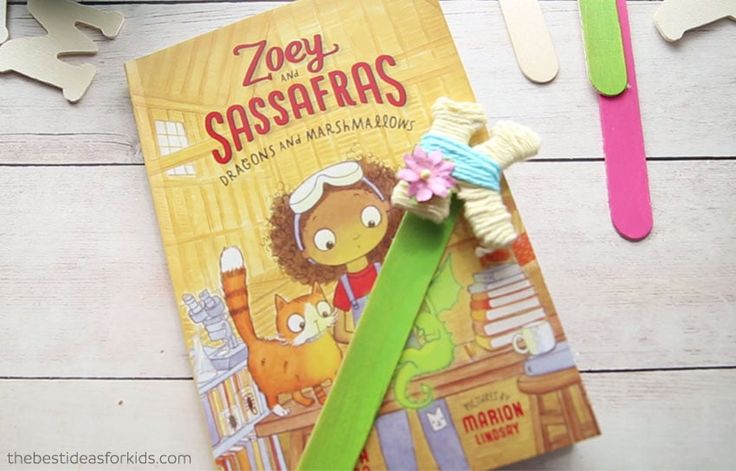 DIY Yarn-Wrapped Letter Bookmarks — Cute Personalized Bookmarks in Minutes
- Knitting Ideas
-
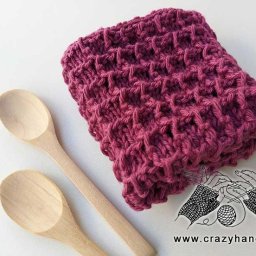 DIY Knitted Waffle Kitchen Towel — Easy Pattern for a Textured, Absorbent Cotton Towel
-
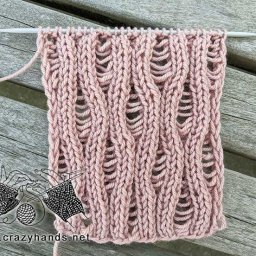 Breezy Knitted Summer Stitch — Lightweight Lace Pattern for Warm-Weather Knits
-
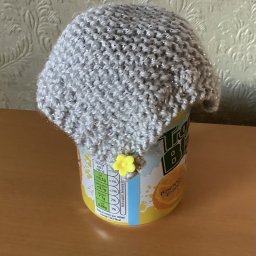 DIY Cozy Knitted Drink Can Cover — Simple Garter-Stitch Pattern with Corner Weights