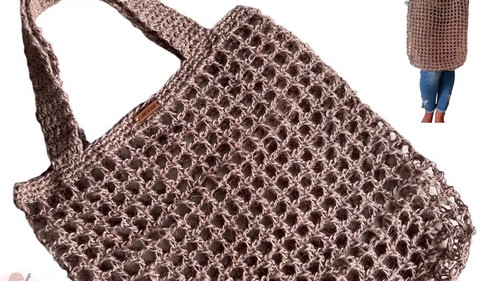
Crochet Market Bag Guide

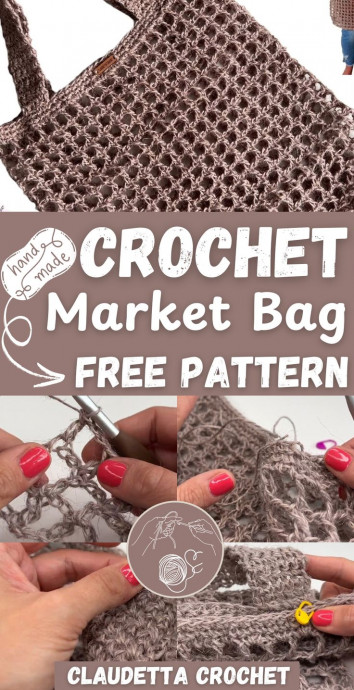
Crochet market bags are not just practical but also stylish companions for your shopping trips. With their handmade charm and eco-friendly nature, they add a lovely touch to your grocery runs or beach outings. These versatile bags can hold a variety of items such as fruits, vegetables, or your favorite reads. Plus, their durability ensures that you can rely on them for multiple trips. So next time you head out, don't forget your crochet market bag - it's a perfect blend of fashion and functionality!
Materials Needed
- 6 mm crochet hook
- Scissors
- Darning needle
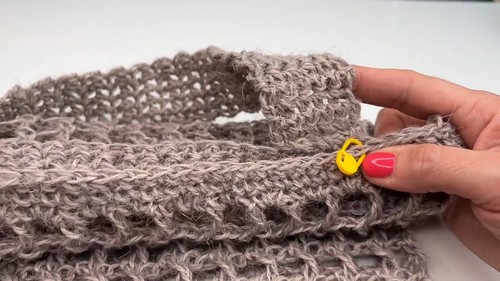
- Stitch markers (optional)
- Jute yarn (1.5 skeins)
Bottom of the Bag
Slip Knot and Chains
Create a slip knot and crochet a chain in a multiple of three, then add eight more stitches.
(Example: 50 chains)
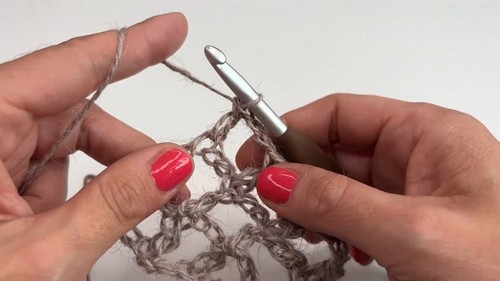
Row 1
In the 8th stitch from the hook, work 1 double crochet (dc). Chain 2, skip 2 stitches, 1 dc in the third stitch. Repeat * to end of row.
Row 2
Chain 5, turn your work. 1 dc in each dc from previous row. Chain 2, skip 2 stitches, 1 dc in next dc. Repeat to end, finishing with dc in the 5th chain.
Rows 3–5
Repeat Row 2 for a total of 5 rows.
Body of the Bag (Worked in the Round)
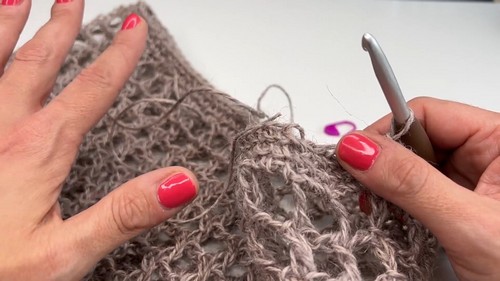
Round 1:
- Chain 5, place a stitch marker in the 3rd chain.
- 1 dc into first dc from previous row.
- Chain 2, 1 dc in next dc.
- Work into the sides to begin forming the round shape.
Rounds 2–20
- Chain 5, dc into dc from previous round.
- Replace marker in third chain.
- Repeat pattern around to desired height.
Top Edge
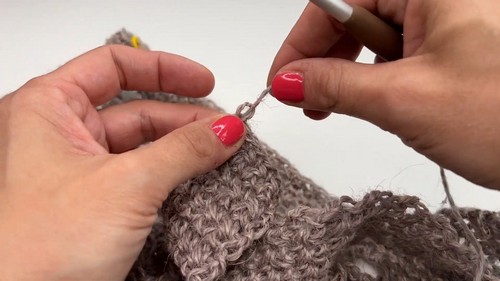
Round 1
- Chain 1.
- Work 2 single crochets (sc) in each chain-2 space (skip dc).
- Slip stitch to join.
Rounds 2–3
- Chain 1.
- Work 1 sc in each stitch around.
- Slip stitch to join each round.
Handles (Make Two)
First Handle
- Mark handle placement on both sides of the bag.
- Start with a standing sc at the marked stitch.
- Crochet 6 sc across for the first row.
Handle Length
- Chain 1, turn.
- Work 6 sc per row.
- Repeat until the handle measures approx. 50 rows or desired length.
Attach Handle
- Use darning needle to sew handle to opposite side.
- Ensure it lays flat and isn't twisted.
Second Handle:
Repeat steps for the second handle, aligning it with the first.
Finishing Touches
- Weave in all loose ends with darning needle.
- Block if desired for shaping.
- Recipes
-
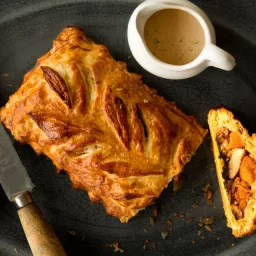 Mushroom Wellington
-
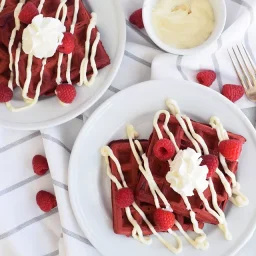 Red Velvet Waffles
-
 Make-Ahead Croissant Breakfast Sandwiches
- Lifehacks
-
 Granny Triangle Crochet Stitch
-
 Crochet Basics: Mini Triangles Stitch
-
 7 Knitting Mistakes & How to Fix them
- Crochet Ideas
-
 Crochet Scrat the Squirrel
-
 Crochet Candy Cane Ornament
-
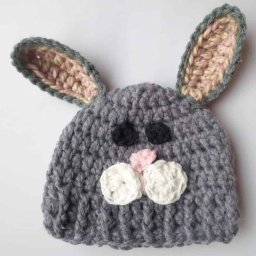 Crochet Bunny Hat
- Knitting Ideas
-
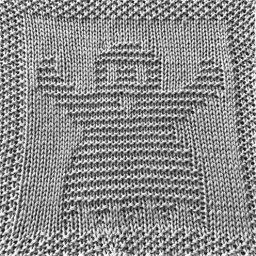 Knitted Ghost Dishcloth
-
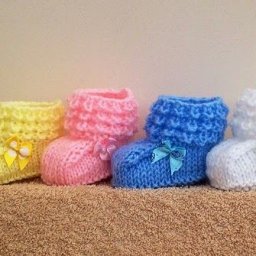 Knitted Crocodilly Mocs for Newborns
-
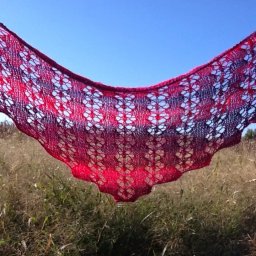 Knitted Cats Paw Scarf
- DIY
-
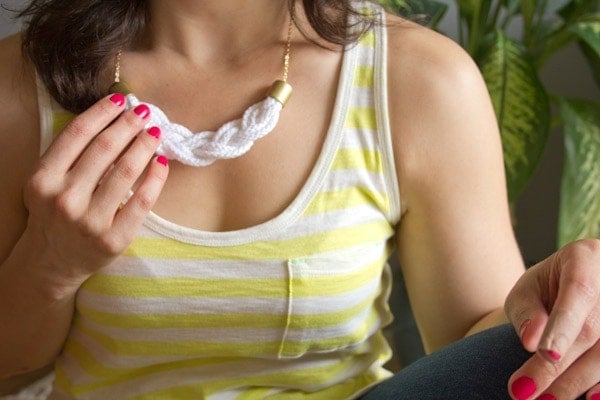 DIY Braided Rope Necklace
-
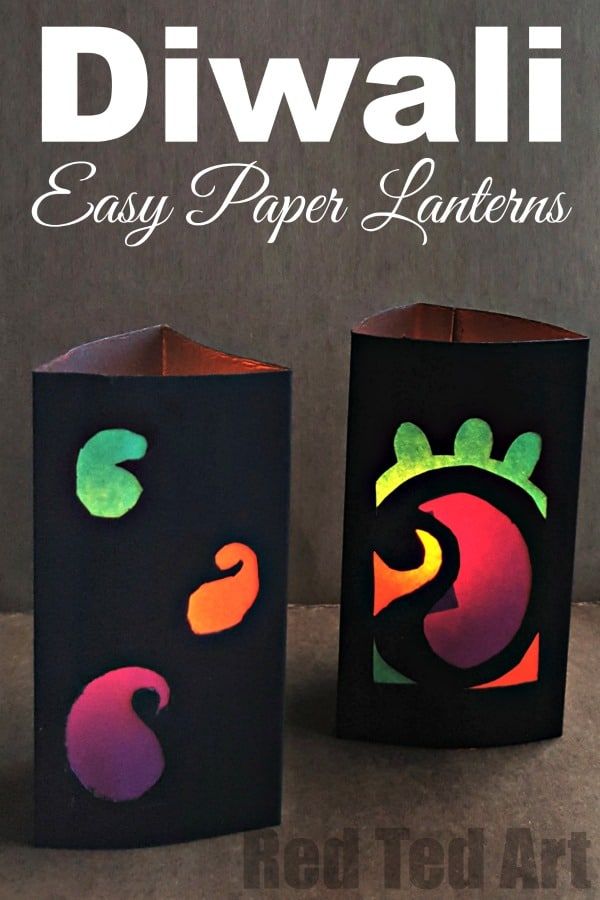 DIY Paper Lanterns
-
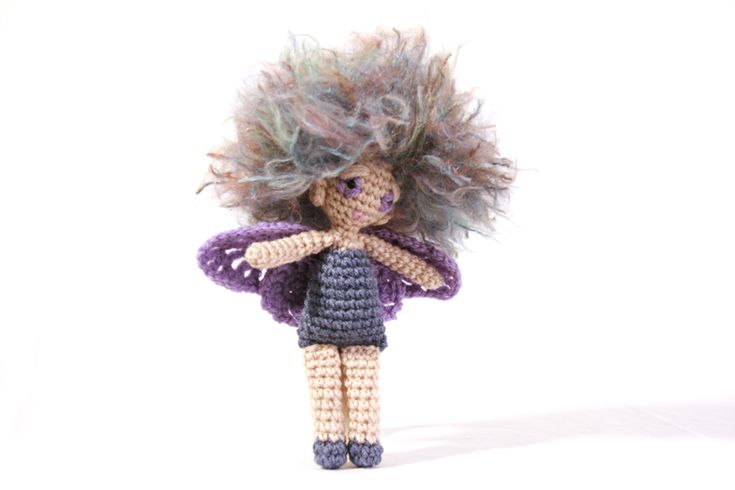 Crochet Fairy Doll
- Funny Pictures
-
 Hilarious Pics for Your Cozy Fall Evening
-
 Memes Filled With Funny Randomness
-
 Typical Thursday Memes to Praise Your Work Life