Crochet Neighborhood Scarf: A Stylish and Cozy Handmade Accessory


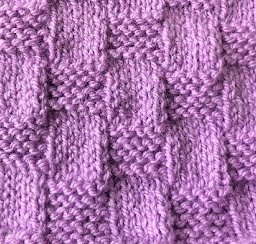
Create your very own handmade scarf with a unique design by crafting the Crochet Neighborhood Scarf. This cozy accessory is perfect for keeping warm during the colder months while adding a touch of style to your outfit. Using a crochet hook and your favorite yarn colors, you can customize the scarf to match your personal taste and preferences. The intricate crochet stitches create a beautiful texture that will make your scarf stand out from the rest.
Whether you're a beginner or an experienced crocheter, the Crochet Neighborhood Scarf is a fun and rewarding project to work on. You can experiment with different crochet techniques and patterns to make each scarf one-of-a-kind. This versatile accessory can be worn in various ways, making it a must-have item in your wardrobe. Show off your creativity and craftsmanship by making the Crochet Neighborhood Scarf your next crochet project.
Notes
- The dimensions of my finished scarf are: 8"/20cm wide (before folding) x 71"/180cm long. (Gauge isn't super critical but if you use a heavier yarn you will have a much longer scarf. This could be remedied by making it into an infinity loop scarf.)
- The colors of the stripes don't perfectly match his sweaters, but are merely an artistic representation. You can choose your own, but the colors of Scheepjes Cotton 8* (fingering 100% cotton; much less than 1 50g ball of each; 235g total before trimming fringe) that I used are:
Yarn Colors Used
- Yellow (551)
- Blue (506)
- Red (510)
- Grey (710)
- Light Grey (700)
- Green (517)
- White (502)
- Dark Brown (657)
- Light Brown (659)
- Black (515)
- Purple (661)
- Rust (671)
- Turquoise (712)
- Petrol (724)
- It is suggested to leave a long tail (approximately 4"/10cm) when joining and finishing for fringe which will be trimmed later. Yay for no ends to weave!
- When instructed to work between the hdc stitches, rather than inserting your hook under the two loops that are normally worked, insert your hook under all three loops--or between the posts of the half double crochet.
- Changing colors occurs at the end of each row by drawing through new color on final yarn over of the last stitch of the row and cutting the old yarn. (Remember, leave a long beginning and ending tail for the fringe!)
- Hook: 3.25mm
- Stitches used: ch, hdc, sl st (US terms)
- Abbreviations: rep = repeat, ch = chain, hdc = half double crochet, sl st = slip stitch, sk = skip, sp = space
Pattern
With first color in stripe sequence, ch 42
Row 1: hdc in third chain from hook and each ch across, turn (40 hdc; ch-2 turning ch counts as hdc)
Row 2: ch 2 (counts as hdc), hdc between first and second hdc (see notes above), hdc between posts of each st across, hdc in ch-2 turning sp, change to next color in sequence (see notes above) (41 hdc)
Repeat Row 2 through each color change (305 rows).
When all 305 rows are complete, fasten off and do a happy dance because you are not going to weave in any of those ends! Here's what I did.
Fold the scarf in half lengthwise and tie a knot with the yarn from the beginning and end of each row (same colored tails). This keeps all the fringe on one edge and gives your scarf a smooth folded edge with fringe on only one edge.
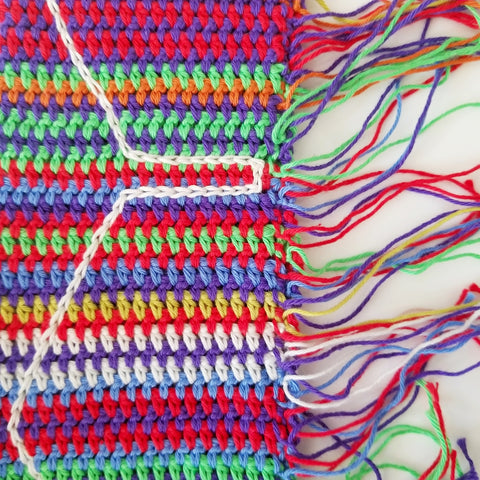
To finish off the "neighborhood" theme, I added an optional little silhouette of a row of houses by slip stitching through both thicknesses. You can see the positioning of mine, but get creative and do it however you wish. I think it would be fun if the houses were varied, tall and skinny, shorter and flatter.
Surface Crochet
If you've never done this type of surface crocheting before, here are a few suggestions.
Holding your working yarn to the back of the work, insert your hook through the fabric and draw up a loop. Insert your hook about a chain stitch's distance from there through the fabric again in the direction of the design you wish to make, yarn over and draw up another loop and then draw it through the loop on your hook (first slip stitch done). Insert your hook again, draw up a loop and pull that loop through your hook. Continue in this way until your design is complete.
Hints
- Watch your tension and don't pull those slip stitches too tightly or your fabric will buckle. Once you get the hang of this, it's a super fun technique!
- Occasionally check the back of your piece to make certain the running stitch you see is how you want it. You can adjust it by inserting your hook into a different spot.
- Funny Pictures
-
 Cool Memes to Take a Rest
-
 Memes That Describe Parenting the Best
-
 Hilarious and Cute Animals to Upper Your Mood
- Recipes
-
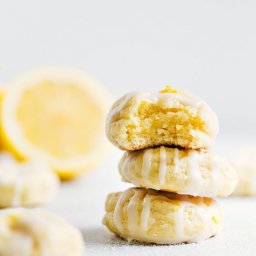 Lemon Cheesecake Cookies (Soft-Baked)
-
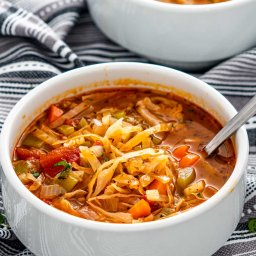 Instant Pot Cabbage Soup
-
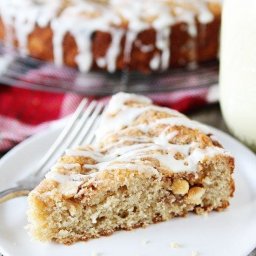 Eggnog White Chocolate Streusel Cake
- Lifehacks
-
 8 Necessary Tips for Baking Bread
-
 10 Uses For Old TV Armoires
-
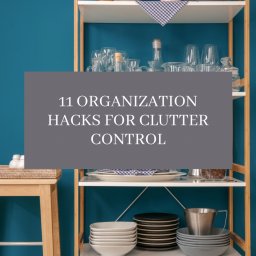 11 Organization Hacks for Clutter Control
- Crochet Ideas
-
 Crochet Sophia and Bennet Love Birds
-
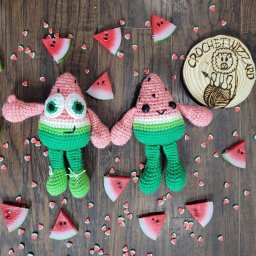 Crochet Watermelon Buddies Toys
-
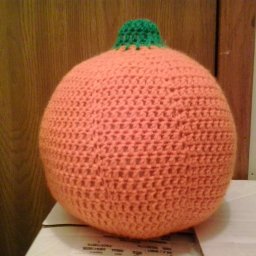 Crochet Large Pumpkin
- DIY
-
 DIY Beaded Christmas Tree
-
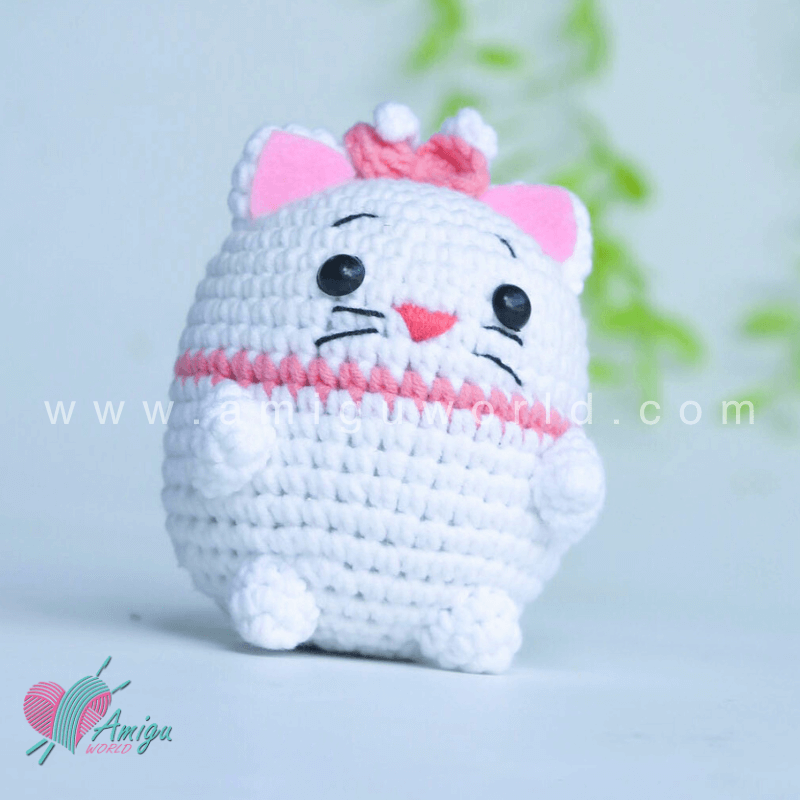 Crochet Chibi Marie Cat Amigurumi
-
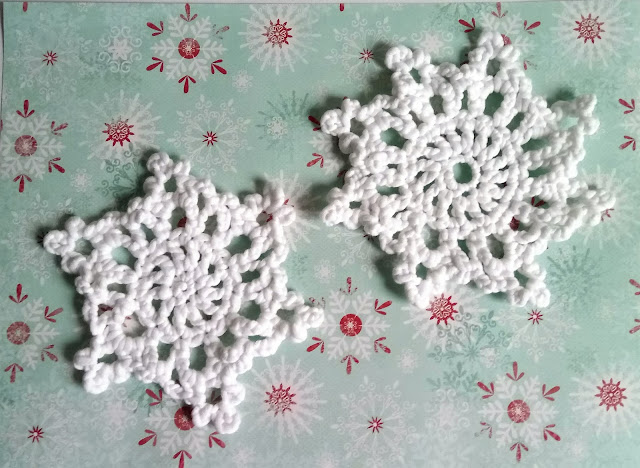 Crochet Beautiful Snowflakes
- Knitting Ideas
-
 Knitted Free 2025 Year Dishcloth
-
 Knitted Ribbed Adult Hat
-
 Knitted Checkers Blanket