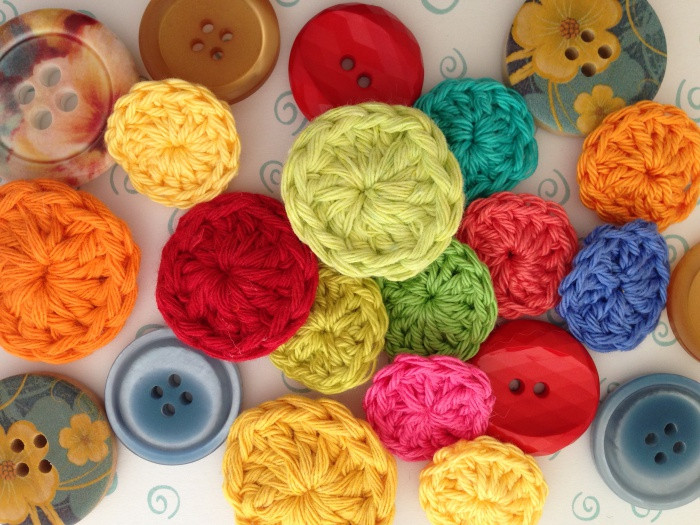
How to Crochet Buttons

Make a slip knot, leaving a 12-inch yarn tail. Chain 4 and join with a slip stitch to make a small ring. This forms the base of the button (photos 1-3).
Chain 2, then double crochet 11 into the ring, crocheting over your yarn tail. When you have completed the dcs, do not close with a slip stitch (photo 4).
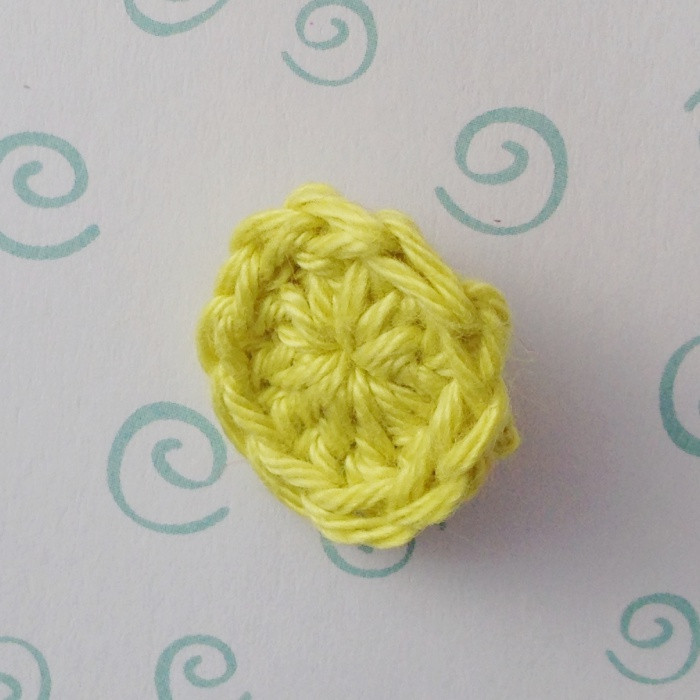
Pull gently on the starting tail end and you will find that this closes up the hole in the center of the circle.
Note that you can use a magic loop to start, but the extra bulk created by using a foundation chain produces a slightly dome-shaped button, which I prefer.
Finishing your button
For a perfectly neat button, the next step is to close the circle so that the join is seamless. You can use this technique whenever crocheting circles — it gives a much better finish than the slip stitch and is just as quick to do. Here’s how:
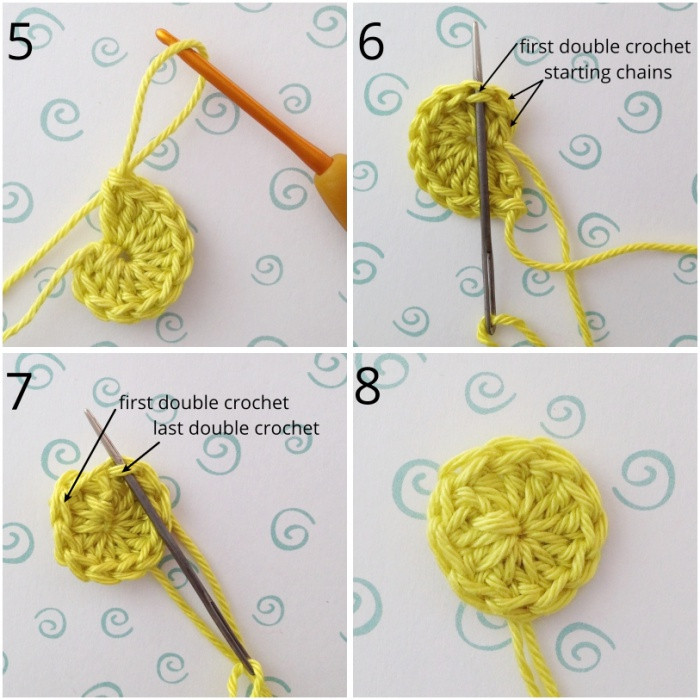
Cut your yarn, leaving a 12-inch tail. Use your crochet hook to pull your working loop until the yarn tail comes right through (photo 5). Thread this onto your darning needle.
Working with the front of the circle facing you, place your needle from front to back through both loops of the first double crochet that you made. Be careful not to go through the second starting chain (photo 6).
Pull the yarn through, but do not pull so tight the circle closes. Take the needle and again working from the front of your work, pass the needle from front to back through the last double crochet in the circle. The needle needs to go between the front and back loops at the top of the stitch (photo 7).
Pull the yarn through. Holding the circle between your fingers, pull the yarn to close the circle. Just pull tight enough so that the stitch you have made is equal in size to the tops of the double crochet stitches around the rest of the circle (photo 8).
Making the button shank
This simple, neat crochet circle can be used as a decorative button as it is, but if you want to be able to sew it onto a garment and use it as a working button, it needs a button shank with a stem and a loop.
You can use the yarn tails to create this easily, which is why you need to leave such long ones.
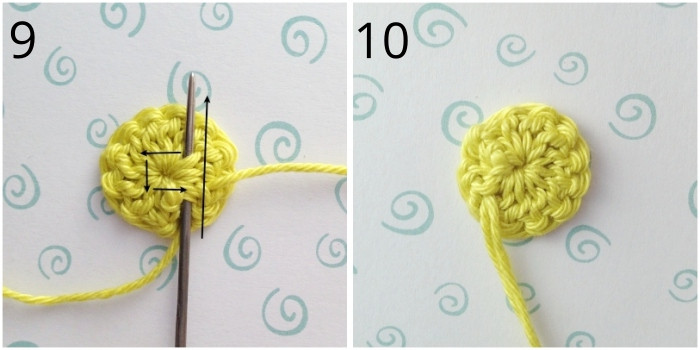
The first step though is to sew in the first yarn tail to make sure the hole in the center of your button stays closed.
After pulling on it gently again to make sure the hole is tightly closed, sew in the end through the base of the stitches, working counter-clockwise (photo 9). You should then have both yarn tails at the same position at the back of your crochet circle (photo 10).
Trim the tail ends so they are the same length and thread both onto your darning needle. Insert the needle into the back of the disc, slightly in from the edge, and pull through. Leave a loop for your crochet hook (photo 11) and then work three chains (photo 12).
Pull through the yarn tails and rethread them onto your darning needle. You can then attach the end of the three chains to the opposite edge of the crochet circle and sew in securely (photo 13). This creates a small but firm loop that you can use to attach the button.


Hope, that you'll find this information useful!