How to Make a Big Knit Bag with Fabric Lining and Zipper

You Will Need
US Size 50 knitting needles
2 skeins – super bulky yarn (I used “Biggie” yarn from Michaels stores; this yarn is super bulky 6, but it's the biggest super bulky I've seen.)
Scissors
Fabric
Zipper – I used a 9-inch zipper, but it is a bit small. If you can find a 10 or 11-inch, it would be perfect. Or you can cast on 1 less stitch and a 9-inch zipper will be great.
Hand sewing needle and a sewing machine (optional – you can just hand sew the fabric if you don't have a machine)
Notes
This is a simple knit rectangle done in stockinette stitch with a section of garter stitch in the middle, and then seamed up the sides.
Pattern
Cast on 10 stitches.
Work in stockinette stitch.
Once you have approximately 9 inches of stockinette, you will work a section of garter stitch (knit stitch) to make the bottom of the bag.
Starting on the wrong side (purl side), knit the first row.
Next row: knit row.
Next row: knit row.
Next row: knit row.
You will now have what looks like two ridges. Now you will continue with stockinette stitch for another 9 inches.
Cast Off.
You will seam up the two sides after you do some measuring for the fabric lining.
Big Knit Bag Bottom
See those two ridges in the middle? These are made with some knit rows in the middle of stockinette. It makes for the perfect rectangular bag bottom.
Fabric Lining
Before you seam the sides, measure how large your bag is from side to side (length and width).
Cut your fabric to match the size of the bag.
Lay your fabric, right side down. Fold back edges that will be at the top of the bag, and pin. Sew each side down. In other words, fold and make a seam at the upper edges of the fabric. This will make it pretty when you open the bag.
Now fold your fabric in half with the right side of the fabric facing inwards (wrong side out). You are folding and sewing the sides to finish up your lining, so sew down each side of the bag to finish your inner pouch. Don’t sew the top closed! You should now have a nice little pouch to go in your bag.
Seaming the Sides of the Bag
With a length of yarn, whip down each side of the bag. Simply weave in the ends with your fingers and tuck any extra yarn into the bag. Insert the liner in the bag.
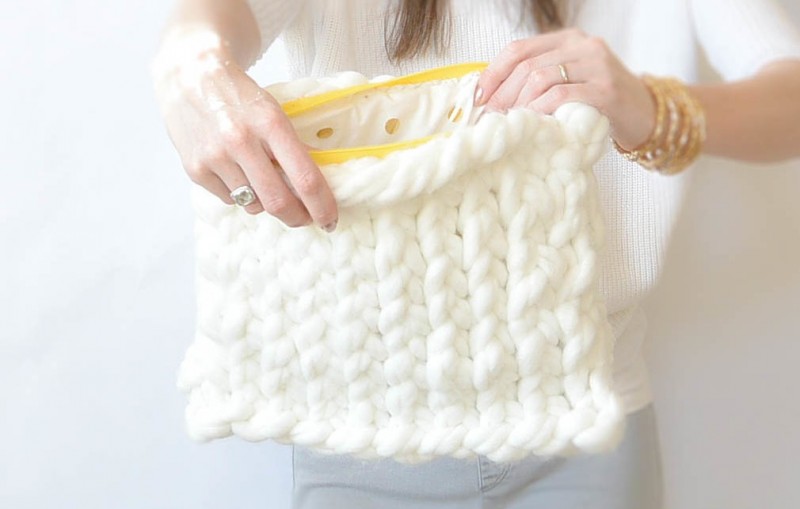
Place your liner, right side up into the bag. Hand sew around the top of the liner in order to attach it to the bag.
Zipper Installation
Unzip the zipper.
Pin the zipper along one edge of the bag, hand sew along the edge. I liked sewing it where I went through some of the fabric, and went through some of the yarn.
Pin the other side of the zipper along the opposite side. Hand sew around to attach.
I used my needle and thread to sew a little closure on one edge of the zipper. My zipper was just a bit short for the bag, so there was a tiny opening at the end of the zipper. I just closed that opening with a few stitches.

