

DIY Crochet Bow Finger Cuffs: Easy Pattern to Make Cute Bow Wrist Cuffs

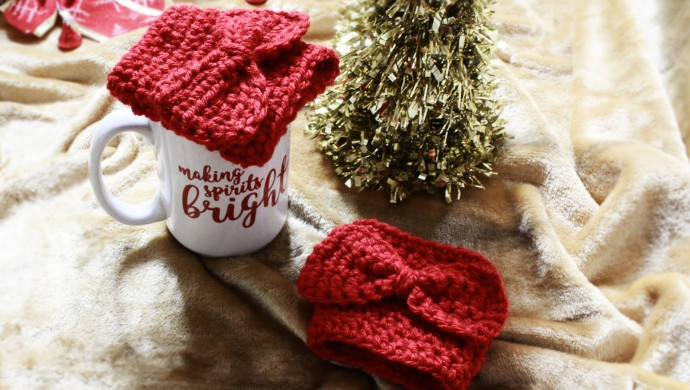
Crochet Bow Finger Cuffs are a charming and delightful accessory that adds a touch of whimsy to any outfit. These cute finger cuffs are not only fun to wear but also make a great conversation starter. With their unique design featuring dainty crochet bows, they are sure to bring a smile to your face every time you slip them on. Perfect for adding a playful twist to your style, these finger cuffs are a wonderful way to showcase your creativity and personality. Whether you wear them for a special occasion or just to add some flair to your everyday look, Crochet Bow Finger Cuffs are a lovely addition to your accessory collection.
The Ingredients
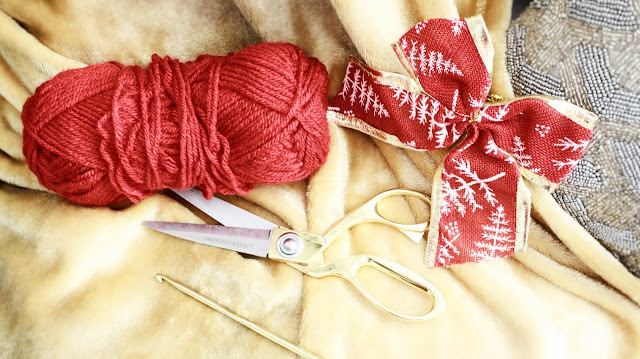
Less than 1 Ball of Lion Brand's Vanna's Choice in Scarlet: Medium 4 // 100% acrylic
Craft Scissors
Crochet Hook: H/8 5.00 MM
Tapestry Sewing Needle
Abbreviations:
sc: single crochet
hdc: half double crochet
[number]tch[s]: turning chain[s]
sts: stitches
The Pattern
I measured the circumference of my head/hair; my measurements will be a bit bigger because of my protective braids. However, I would recommend sizing your own and crocheting to that specific sizing. [Note: You can always return back to the beginning to create a snug fit, with one round of single crochet.]
First, I chained for 21 (depending on your wrist size you might want to modify).
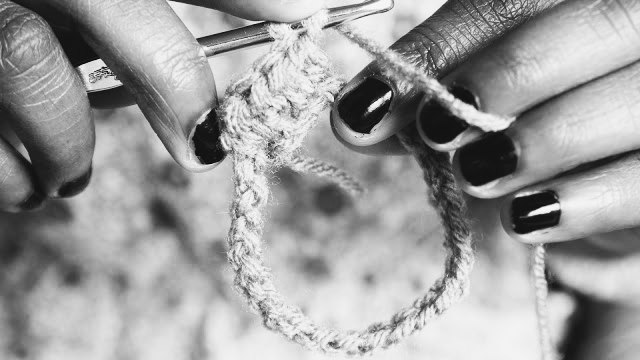
RND 1: HDC the entire round into all of the STS. At the end of the round, SS to connect work and turning chain accordingly.
RND 2: SC the entire round into all of the STS. At the end of the round, SS to connect work and turning chain accordingly.
RND 3: HDC the entire round into all of the STS. At the end of the round, SS to connect work and turning chain accordingly.
RND 4: HDC the entire round into all of the STS. At the end of the round, SS to connect work and turning chain accordingly.
RND 5: SC the entire round into all of the STS. At the end of the round, SS to connect work and turning chain accordingly.
RND 6: HDC the entire round into all of the STS. At the end of the round, SS to connect work and turning chain accordingly.
Left Hand Instructions
You will SC only for 5 STS for the start of the row. To begin the thumb hole, you will CH 5.
After CH 5, skip 5 STS and SC into the remaining STS.
RND 7: SC the entire row into all of the STS. At the end of the round, SS to connect work and turning chain accordingly.
Right Hand Instructions
You will HDC only for 15 STS for the start of the row. To begin the thumb hole, you will CH 5.
After CH 5, skip 5 STS and SC into the final ST.
RND 7: SC the entire row into all of the STS. At the end of the round, SS to connect work and turning chain accordingly.
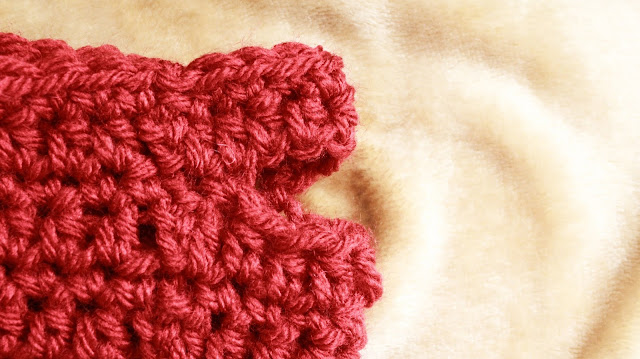
BOTH HANDS
RND 8: HDC the entire row into all of the STS. At the end of the round, SS to connect work and turning chain accordingly.
RND 9: SC the entire row into all of the STS. At the end of the round, SS to connect work and turning chain accordingly.
Creating the Bow
CH for 11.
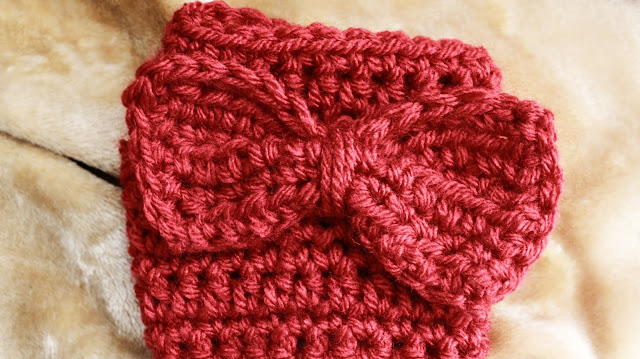
RND 1: HDC the entire row into all of the STS. At the end of the row, turn work to continue.
RND 2: SC the entire row into all of the STS. At the end of the row, turn work to continue.
RND 3: HDC the entire row into all of the STS. At the end of the row, turn work to continue.
RND 4: SC the entire row into all of the STS. At the end of the row, turn work to continue.
RND 5: HDC the entire row into all of the STS. At the end of the row, turn work to continue.
RND 6: SC the entire row into all of the STS. At the end of the row, SS to complete work.
You will cut a piece of yarn, not too long. (I didn't really estimate the length!)
Threading the yarn into the sewing needle, you will scrunch the center of the bow. (Like the photo above!)
After the bow is tied and scrunched, you will want to stitch it by sewing the bow to the wrist cuff. I sewed the middle of the bow to the front of the wrist cuff. (You will have to try the wrist cuff on to find the exact position! :)) Now it is complete to start the tutorial over again to create the other half!